How to Connect Turtle Beach Headphones to PS4 Easily
Connect Turtle Beach headphones to PS4 by using the correct method for your model: 3.5mm controller jack, USB wireless transmitter, or supported optical audio setup. Then change the PS4 sound settings so audio is routed to the headset and chat/game levels are balanced.
If you want to know how to connect Turtle Beach headphones to PS4, the good news is that most models are easy to set up once you know which connection type you have. The exact steps depend on whether your headset is wired, wireless with a USB transmitter, or connected through optical audio.
- Connection type matters: Wired, wireless, and optical setups use different steps.
- PS4 settings are crucial: Set output to headphones and choose all audio when needed.
- Check simple fixes first: Battery, mute switches, and loose cables solve many issues.
- Wireless models need pairing: USB transmitters and battery charge should be verified.
How to Connect Turtle Beach Headphones to PS4: What This Guide Covers
Contents
- 1 How to Connect Turtle Beach Headphones to PS4: What This Guide Covers
- 2 Before You Start: Turtle Beach PS4 Compatibility, Ports, and Connection Types
- 3 Step-by-Step: How to Connect Turtle Beach Headphones to PS4
- 4 PS4 Audio Settings You Must Change for Turtle Beach Headphones
- 5 Practical Setup Examples for Popular Turtle Beach Headsets
- 6 Common Mistakes That Prevent Turtle Beach Headphones from Working on PS4
- 7 Expert Advice: When to Upgrade Cables, Adapters, or the Headset Itself
- 8 Final Recap: The Fastest Way to Get Turtle Beach Headphones Working on PS4
- 9 Frequently Asked Questions
- 10 Author
This guide walks you through the most common Turtle Beach PS4 connection methods in a simple, beginner-friendly way. You’ll also learn which PS4 audio settings matter most, plus the mistakes that usually stop a headset from working properly.
We’ll keep things practical and focused on real setup issues, not theory. If you’re also comparing headset types, our guide to types of headphones explained can help you understand why some models are easier to use on consoles than others.
Before You Start: Turtle Beach PS4 Compatibility, Ports, and Connection Types
Before plugging anything in, check your Turtle Beach model and your PS4 setup. Some headsets connect directly through the controller, while others need a USB transmitter or additional audio routing.
Compatibility can vary by model, console version, and even the cables included in the box. If your headset has been used on another device before, it may also need a quick reset or re-pairing step, similar to what you’d do when you reset Bluetooth headphones.
Wired vs. wireless Turtle Beach models
Wired Turtle Beach headsets are usually the simplest option for PS4 because they rely on a 3.5mm audio connection or a direct audio cable. Wireless models often use a USB transmitter, which can make setup faster once everything is paired correctly.
Wired models are often more straightforward for chat and game audio, while wireless models can offer more freedom of movement. The best choice depends on whether you value simplicity, desk setup, or a cable-free gaming experience.
USB transmitter, 3.5mm jack, and optical audio basics
The PS4 can send audio in a few different ways, and Turtle Beach headsets may use one or more of them. The 3.5mm jack on the DualShock 4 controller is the most common wired path, while many wireless Turtle Beach models use a USB transmitter to handle audio and chat.
Some older or more advanced setups may use optical audio, especially if a headset base station supports it. Optical audio can improve flexibility for certain systems, but not every PS4 setup needs it, and not every Turtle Beach headset uses it.
Step-by-Step: How to Connect Turtle Beach Headphones to PS4
The easiest way to connect depends on your headset style. Start with the method your Turtle Beach model was designed for, then adjust your PS4 settings afterward.
If your headset came with a quick-start sheet, follow the model-specific instructions first. Turtle Beach setups can vary a lot between Recon, Stealth, and older wireless systems.
Connecting via 3.5mm controller jack
For wired Turtle Beach headsets, plug the 3.5mm cable into the PS4 controller’s headphone jack. Make sure the cable is fully seated, because a loose connection can cause low volume, one-sided audio, or no sound at all.
Once connected, turn on the headset volume and check whether the inline controls or mic mute switch are in the correct position. If your microphone is not working, the issue is often a mute setting rather than a bad headset.
Insert the 3.5mm cable into the PS4 controller until it clicks or sits firmly in place.
Confirm the microphone is not muted on the cable, inline remote, or headset body.
Go into Sound and Devices settings and make sure audio is routed to the controller headset.
Connecting via USB wireless transmitter
For wireless Turtle Beach models, plug the USB transmitter into the PS4 console. Then power on the headset and wait for the transmitter and headset to pair, which may take a few seconds.
If the headset does not connect right away, try another USB port and confirm the headset has enough battery. Wireless headsets can fail to sync simply because the battery is too low or the transmitter is not fully inserted.
If your wireless headset seems delayed or unstable, move the transmitter closer to the console and remove nearby USB clutter. Small interference sources can affect connection reliability.
Connecting with optical audio on supported setups
Some Turtle Beach base stations and older PS4 setups can use optical audio for game sound. In that case, the optical cable goes from the console or TV/audio source to the headset base, while USB may still be needed for power or chat features.
This method is less common for simple plug-and-play setups, but it can be useful when your headset is designed around a base station. If your PS4 model or TV does not support the same routing, you may need a different connection path.
Do not force cables into ports that do not match. If a headset needs a USB transmitter, a 3.5mm cable alone may not provide full functionality.
PS4 Audio Settings You Must Change for Turtle Beach Headphones
Even when the headset is plugged in correctly, the PS4 may still send audio to the wrong output. A few quick settings changes usually solve that problem.
If you’re still new to console audio menus, it helps to remember that headphone routing is often more important than the headset brand itself. That’s true for gaming headsets in general, including models discussed in our Turtle Beach headphones on PC guide.
Setting output device and all audio to headphones
Open the PS4 quick menu, then go to Sound/Devices and select the headset as the output device. If available, set “Output to Headphones” to “All Audio” so both game sound and chat are sent to the headset.
If you only choose chat audio, you may hear voice chat but miss game sound. That is one of the most common setup mistakes with Turtle Beach headsets on PS4.
Adjusting chat audio, game audio, and microphone levels
Once the headset is connected, use the PS4 sound settings and the headset’s own controls to balance game and chat volume. Some Turtle Beach models also have a chat mix dial, which lets you shift the sound toward voices or gameplay.
Microphone level is worth checking too, especially if friends say you sound too quiet or distorted. Start with moderate levels, then raise the volume slowly until the balance feels right.
Practical Setup Examples for Popular Turtle Beach Headsets
Different Turtle Beach lines behave differently on PS4, so it helps to think in terms of setup style rather than one universal method. The examples below are general, since exact controls and packaging can vary by model.
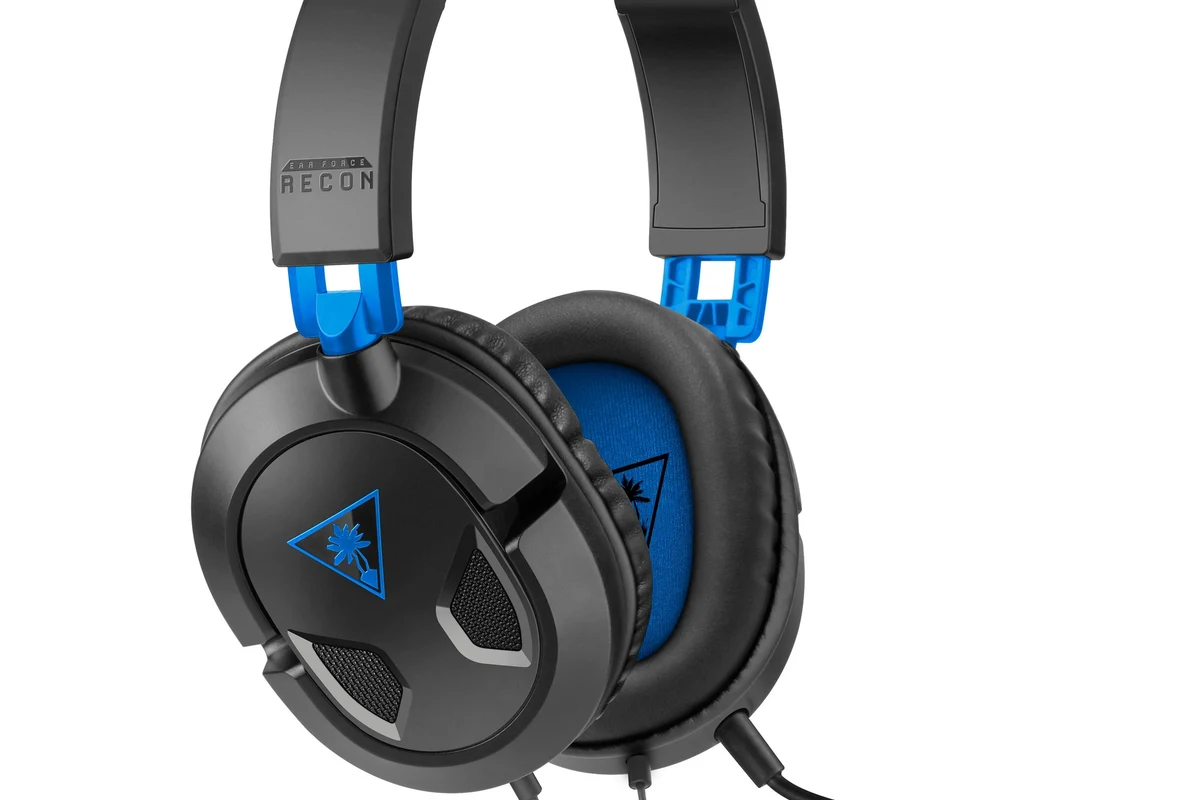
Example: Turtle Beach Recon series on PS4
The Recon series is often the easiest to connect because many models use a direct 3.5mm connection to the PS4 controller. That means you usually just plug in, adjust the volume, and change the PS4 output settings.
If the Recon headset includes an inline mic mute or volume control, check those first before troubleshooting the console. In a lot of cases, the headset is working fine and only the control switch is in the wrong position.
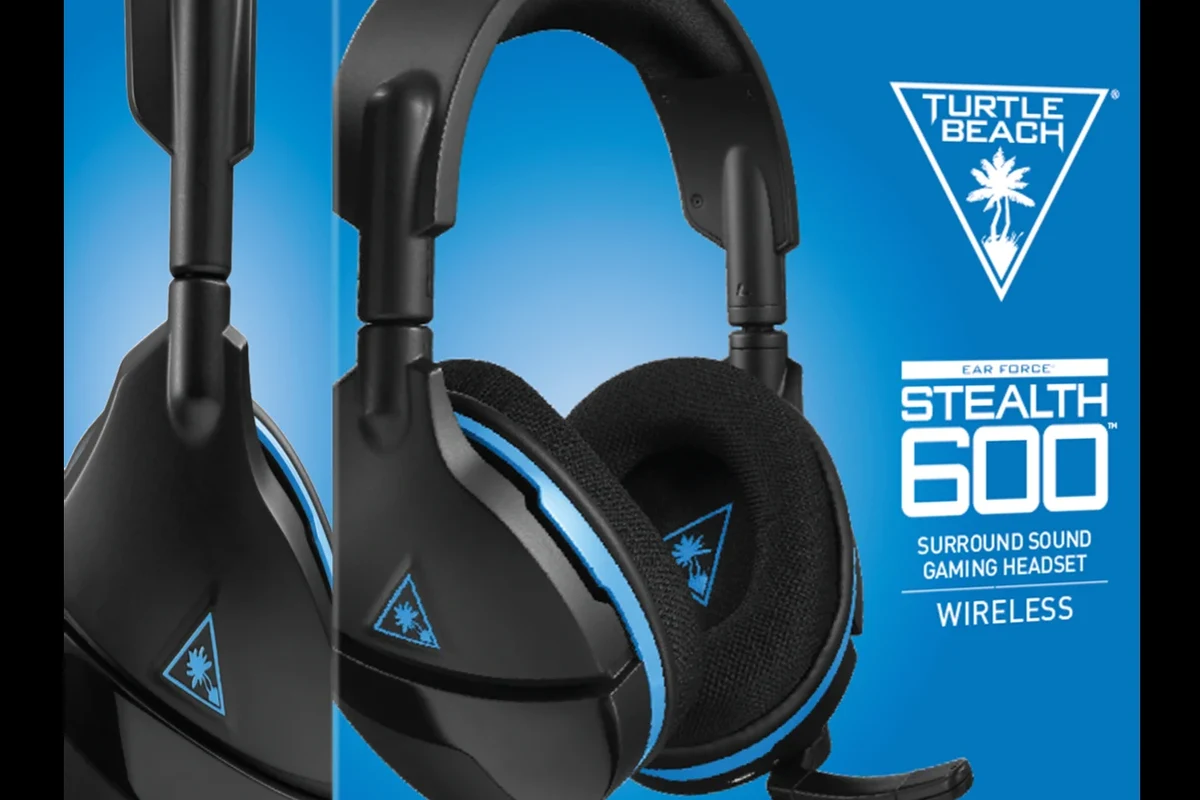
Example: Turtle Beach Stealth wireless models on PS4
Stealth wireless models typically rely on a USB transmitter or base station. The main job is to pair the headset correctly, then confirm the PS4 is sending game and chat audio through the wireless path.
These models are often convenient for couch gaming because they remove the cable from the controller. Still, they may need more setup steps than a wired headset, especially if you are switching between PS4, PC, or another device.
Some gaming headsets sound “broken” only because the console is set to send audio to the TV instead of the headset. A quick output check often fixes the issue instantly.
Common Mistakes That Prevent Turtle Beach Headphones from Working on PS4
Most Turtle Beach problems on PS4 come from setup errors, not defective gear. Before assuming the headset is bad, check the controller, settings, cable, and battery status.
Incorrect controller pairing or low battery issues
If your wireless headset is not responding, make sure it is actually paired with the transmitter and not just powered on. Low battery can also cause unstable audio, dropped connection, or failure to pair.
For wired models, controller issues can still matter if the jack is dirty or the controller itself is malfunctioning. Testing the headset with another controller can help you narrow down the problem.
Wrong audio output mode or muted chat settings
If you hear only chat or only game audio, the PS4 output mode is probably set incorrectly. Go back into the sound settings and confirm that headphones are the selected output device and that all audio is routed to them.
Also check whether chat is muted in the PS4 party menu or on the headset itself. A headset can appear silent even when the audio path is technically working.
Using the wrong cable, adapter, or USB port
Some Turtle Beach models need a specific cable or adapter to unlock full features. Using a random replacement cable may allow partial sound but not full microphone or chat support.
USB port choice can matter too, especially for wireless transmitters. If one port fails, try another directly on the console rather than through a hub.
Listening at high volumes for long periods can cause hearing damage. Keep volume at 60% or below for extended sessions.
Expert Advice: When to Upgrade Cables, Adapters, or the Headset Itself
If your setup is old or inconsistent, sometimes the cheapest fix is not the best one. It helps to compare the cost of a small accessory against the convenience of replacing a worn cable or aging headset.
Cost vs. convenience: budget fixes compared with replacement options
A new cable or adapter can be a smart first step if the rest of the headset still works well. That said, if you keep replacing accessories for the same issue, the headset itself may be the weak point.
For readers comparing value across different headphone styles, our headphones vs earphones guide is useful for understanding comfort, fit, and long-session use.
Warning signs that a setup problem is actually a hardware issue
If the headset cuts out on multiple controllers, multiple ports, or even another device, the issue is likely hardware-related. Repeated crackling, unstable power, or a dead microphone after correct setup can point to wear inside the headset or transmitter.
At that stage, replacement may be more practical than repeated troubleshooting. If you have hearing concerns or suspect a sound imbalance is affecting you physically, consult an audiologist or qualified professional.
If your headset causes pain, persistent ringing, or unusual volume imbalance, stop using it and speak with an audiologist or audio specialist. Comfort and hearing safety matter more than forcing a faulty setup to work.
Final Recap: The Fastest Way to Get Turtle Beach Headphones Working on PS4
The fastest path is usually simple: plug in the correct cable or transmitter, set the PS4 output to the headset, and switch headphones to “All Audio.” For wired Turtle Beach models, the controller jack is usually the quickest route, while wireless models need proper transmitter pairing and battery power.
If sound still does not work, check mute switches, battery level, USB ports, and cable fit before replacing anything. In most cases, a small settings change or a better connection is all it takes to get Turtle Beach headphones working on PS4.
Frequently Asked Questions
Wireless models offer more freedom, while wired models are usually simpler to set up. The better choice depends on your comfort, budget, and whether you want the easiest PS4 connection.
Check the PS4 output device, headset mute switch, volume level, and cable or transmitter connection. Low battery or the wrong audio mode can also stop sound from coming through.
Yes, you usually need to set headphones to receive all audio if you want both game sound and chat in the headset. You may also need to adjust chat mix and microphone levels.
Yes, over-ear, on-ear, and in-ear designs feel and sound different during long sessions. Comfort, clamp force, ear cushion material, and weight can matter as much as sound quality.
Look at connection type, mic support, comfort, battery life for wireless models, and whether the headset works with your console setup. Sound tuning, bass level, and chat clarity also matter for gaming.
If the headset fails on multiple devices, has repeated crackling, or still will not connect after correct setup, the hardware may be failing. In that case, replacement can be more practical than more troubleshooting.