How To Use Over Ear Headphones: Easy Guide

Over-ear headphones sit around your ears instead of pressing on them. To use them well, choose the right connection, adjust the headband and ear cups, set a safe volume, and keep the headphones clean. These steps work for most wired, wireless, noise-canceling, and gaming headphones used in the United States.
Good use is not only about pressing play. A poor fit can cause pressure, sound leakage, or weak bass. A high volume can also harm your hearing over time. This guide explains how to set up over-ear headphones, wear them correctly, use their controls, fix common problems, and protect your ears.

What Are Over-Ear Headphones?
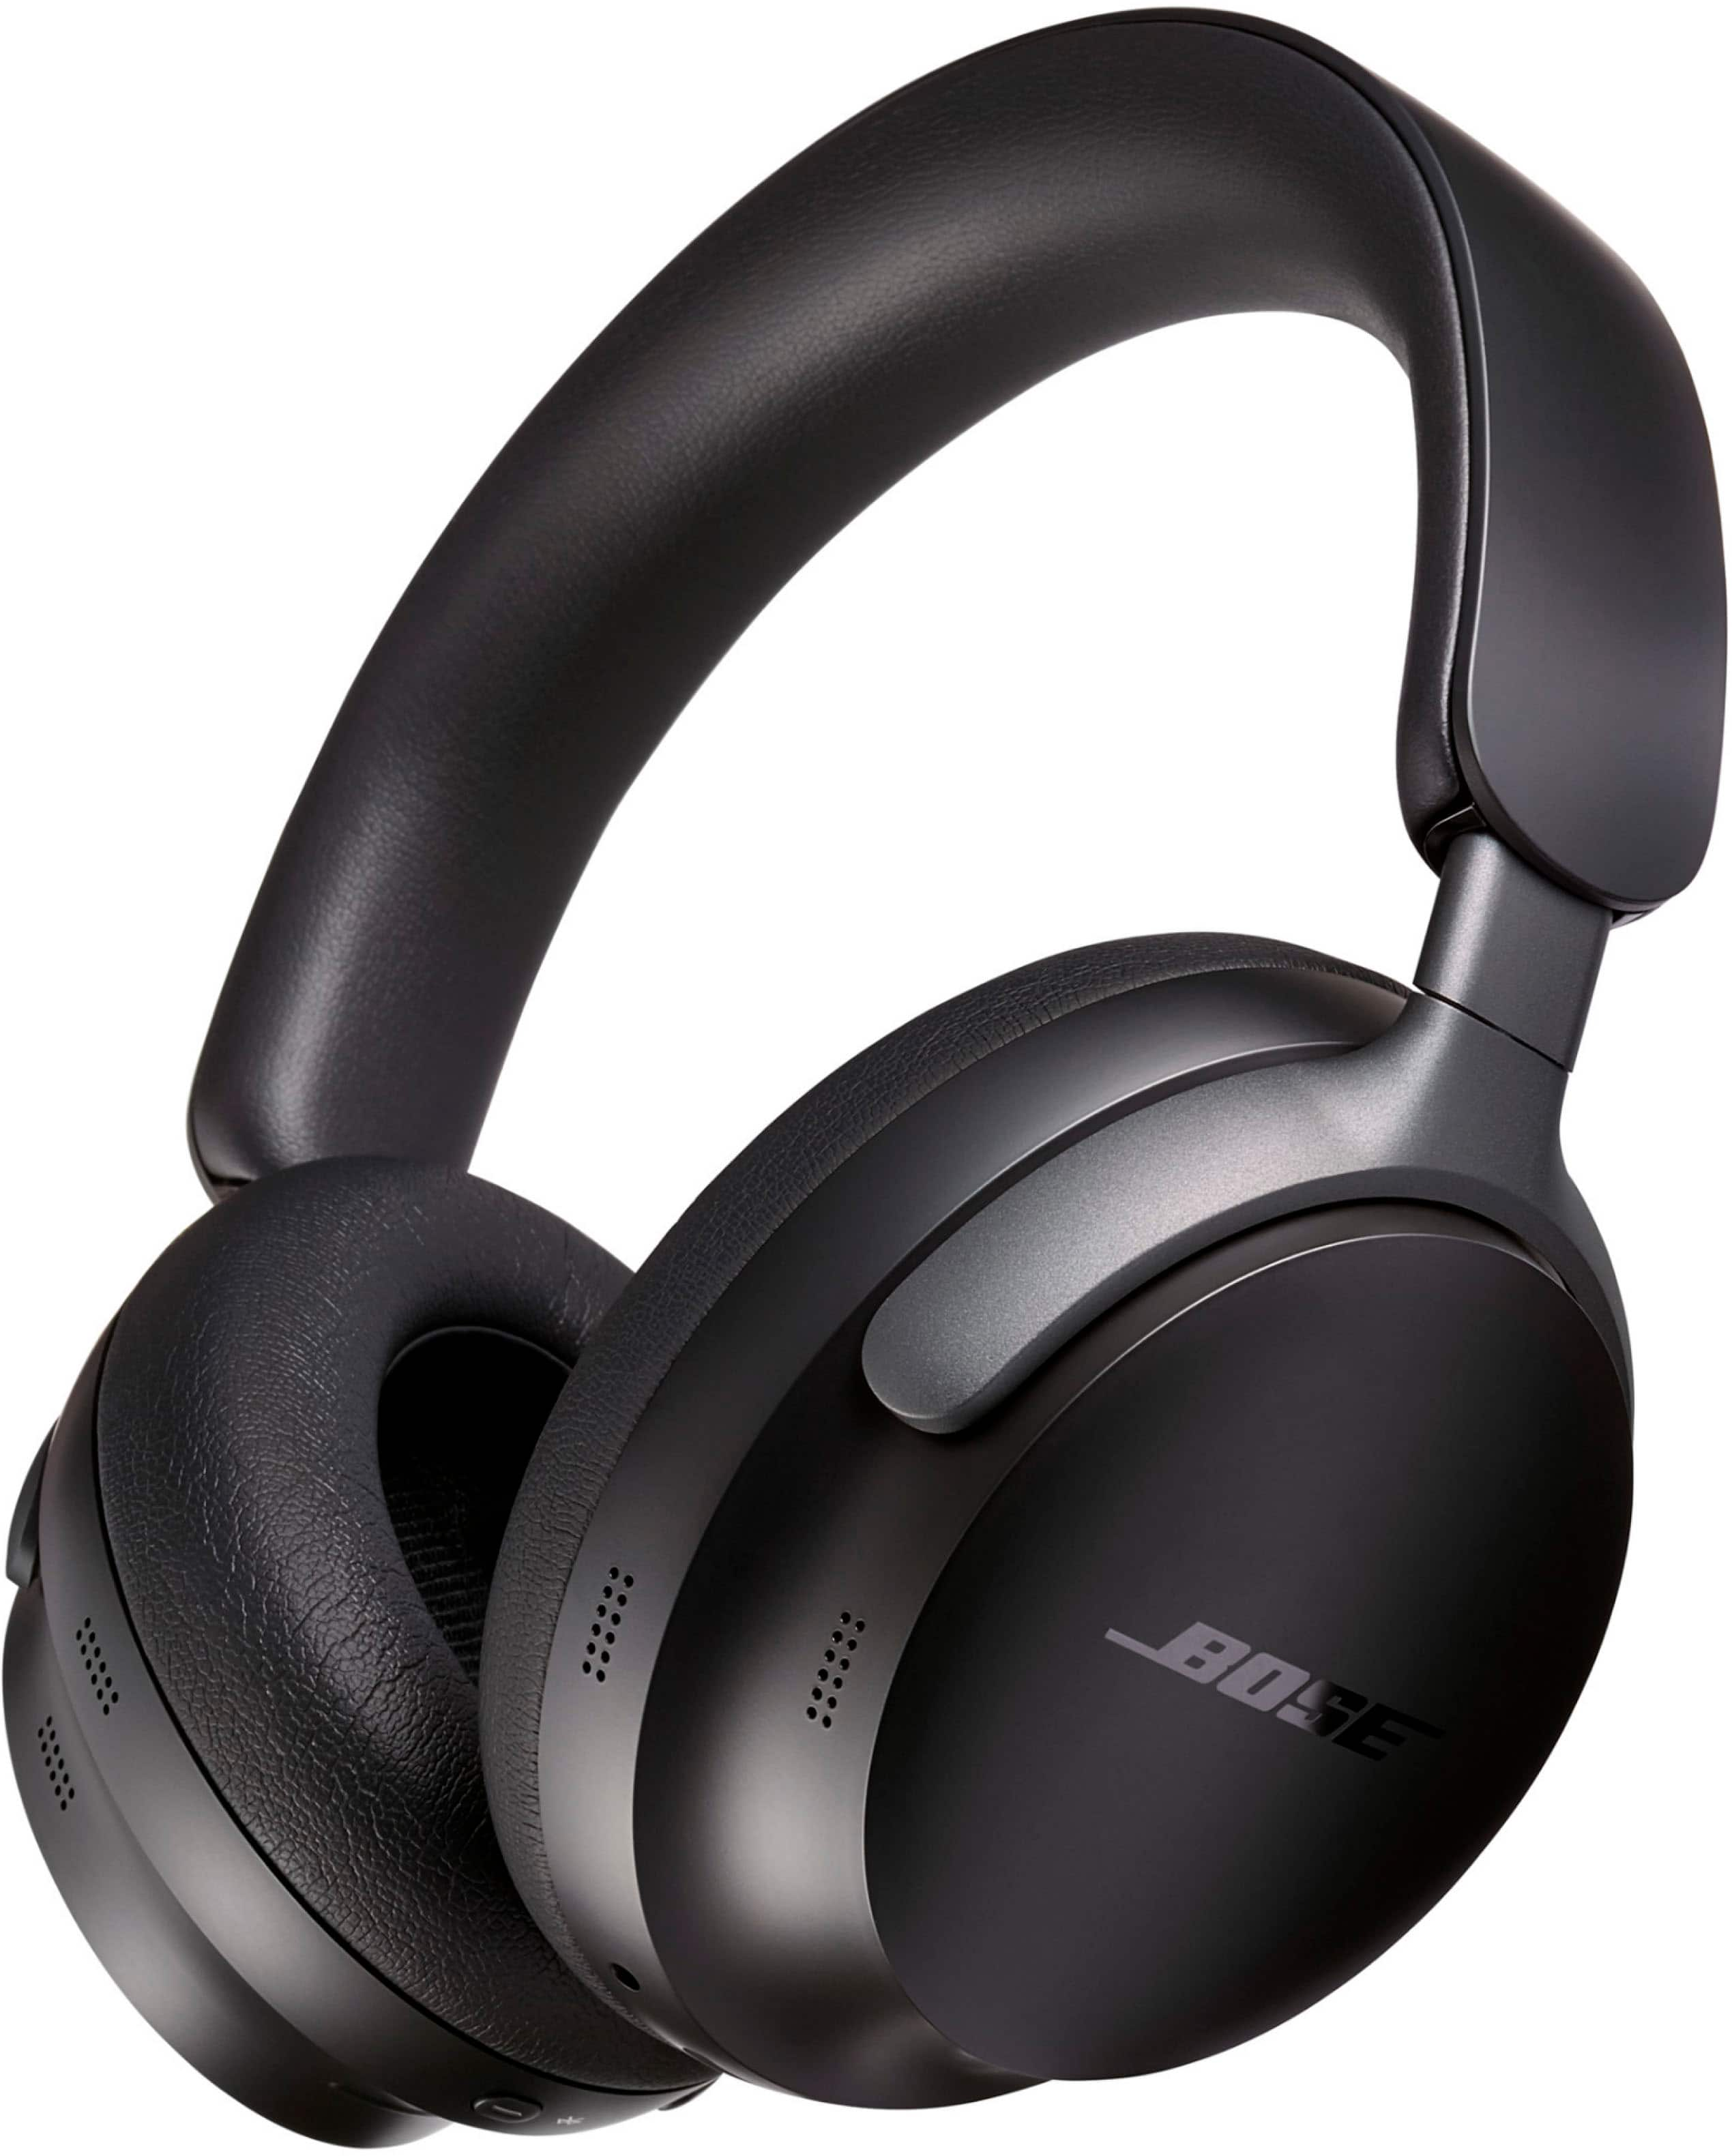
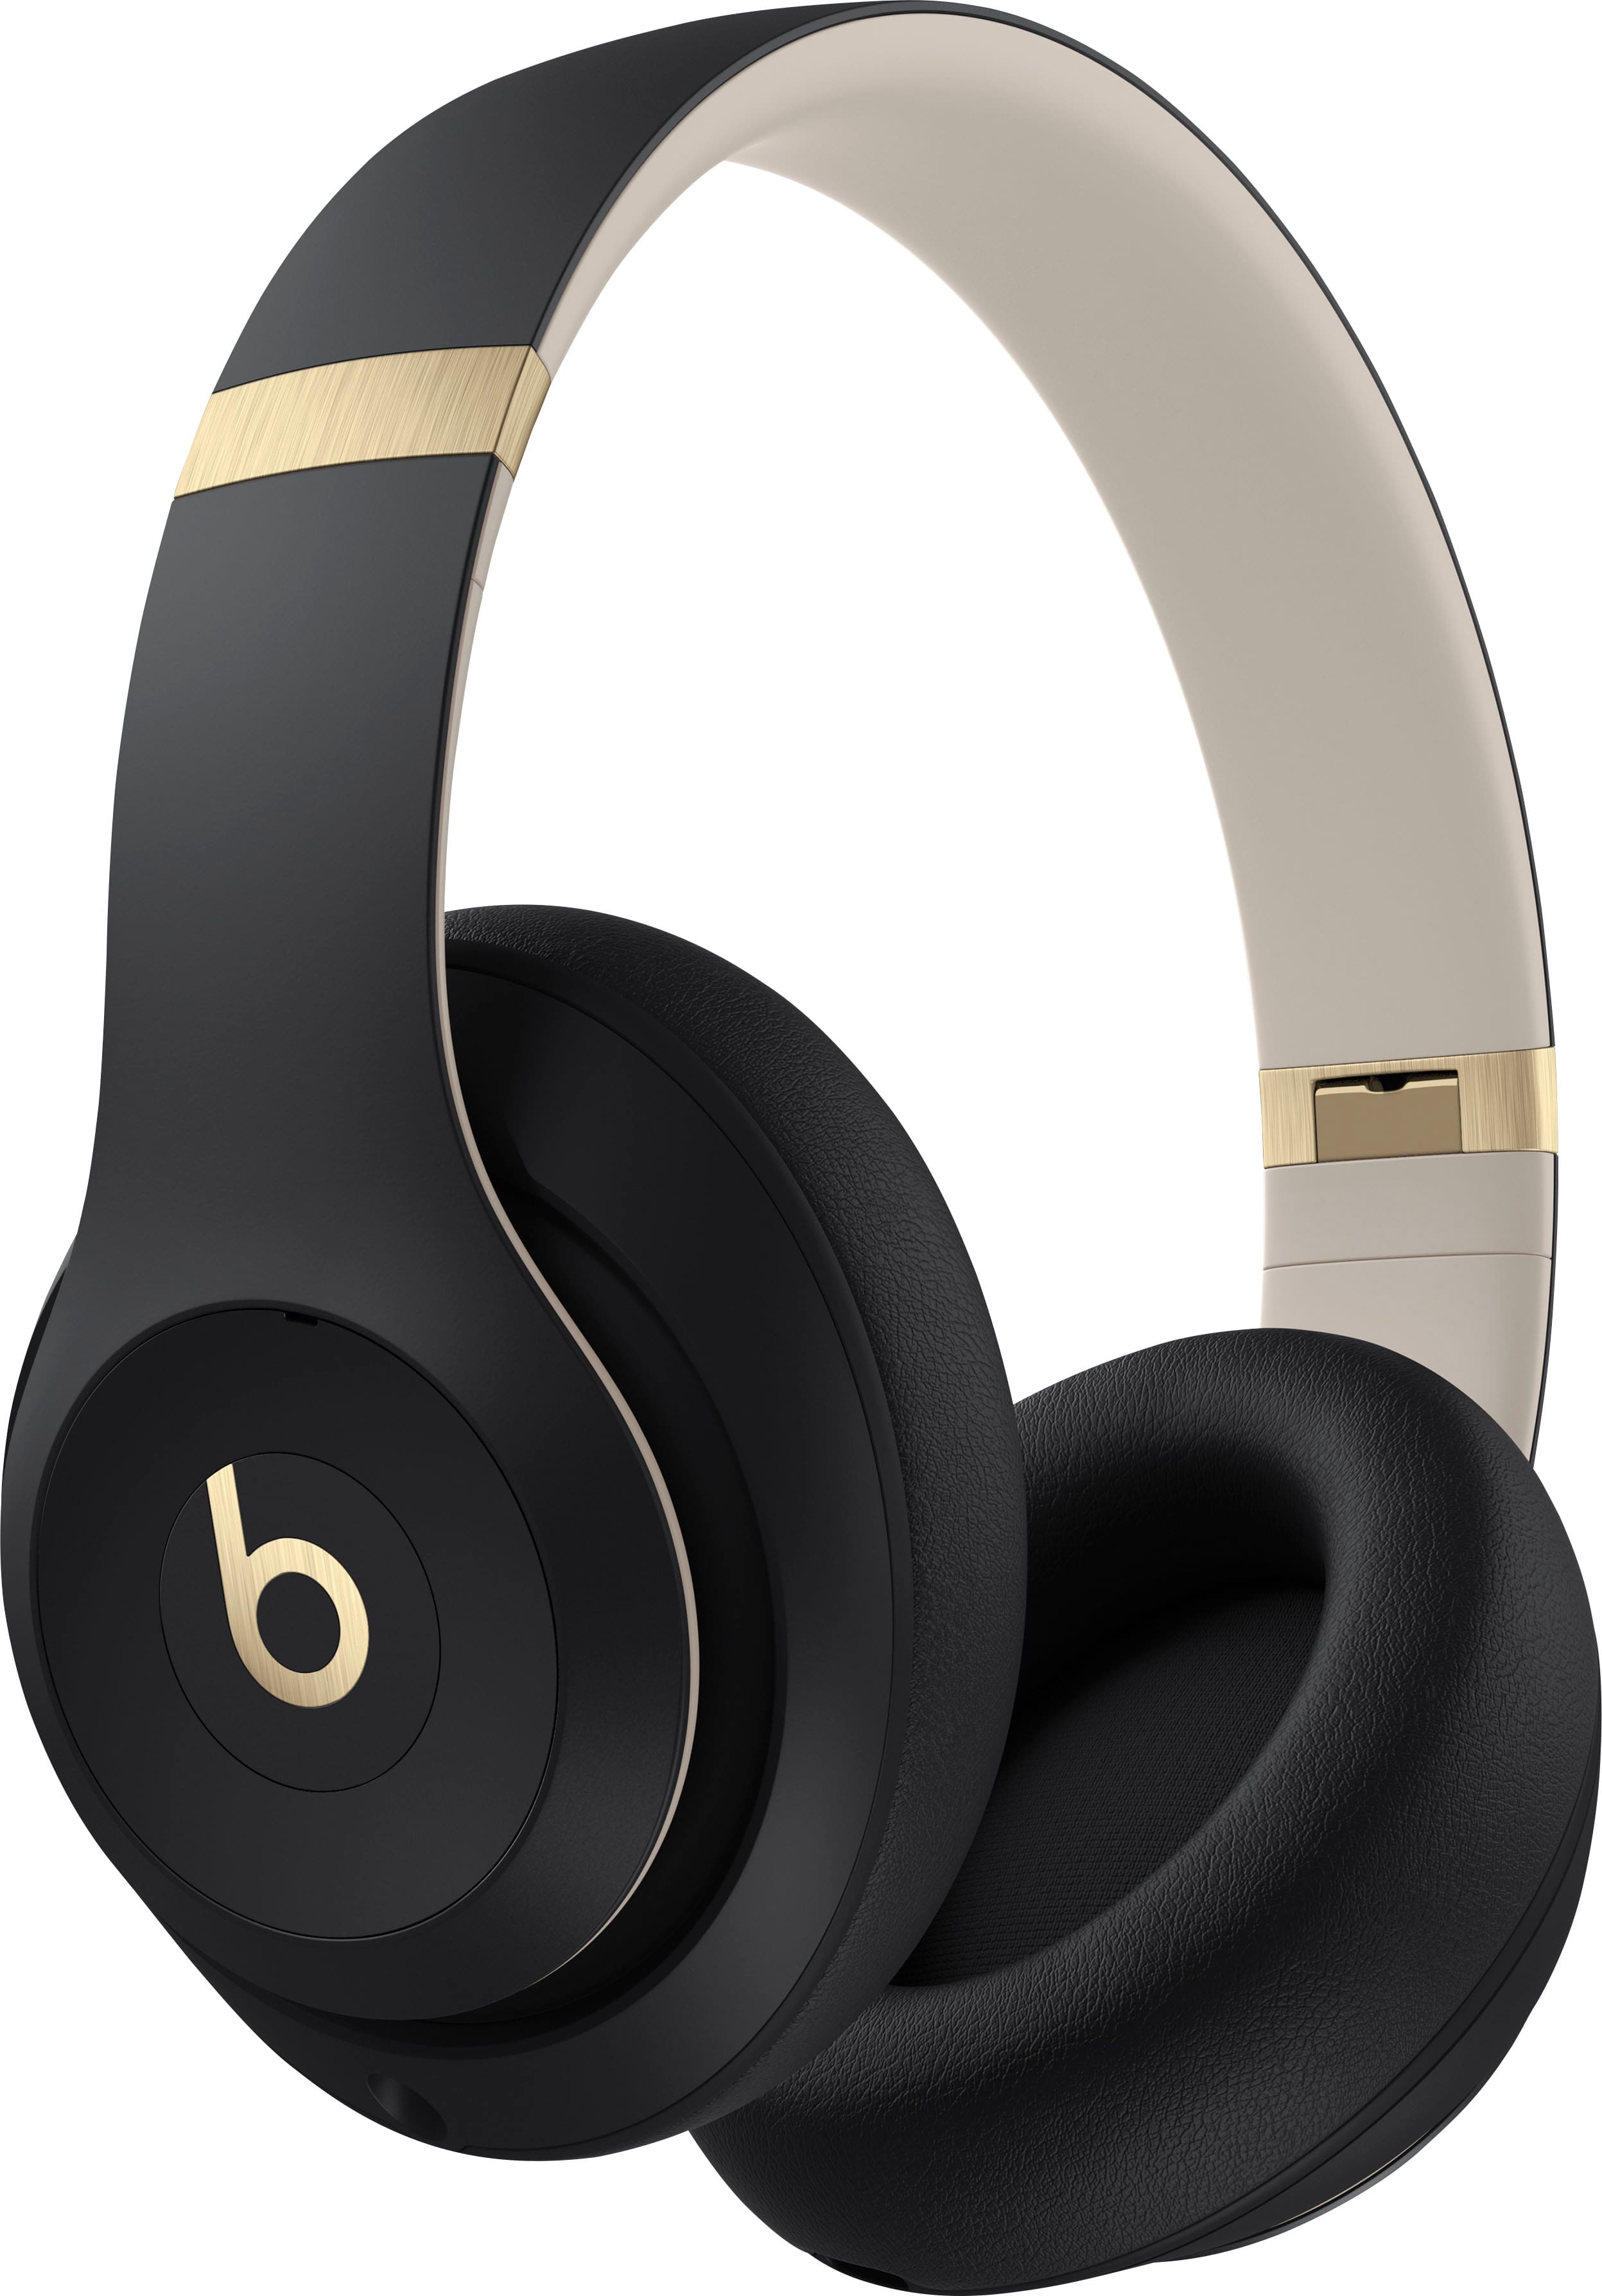
Over-ear headphones have large ear cups that surround the outer ear. The cups rest on the sides of your head rather than directly on the ear itself.
This design can create a wider, more relaxed fit than many earbuds or on-ear headphones. It may also help block outside sound through the ear cup seal. Active noise cancellation adds electronic sound control, but it does not make headphones hearing protection.
Over-ear vs. on-ear headphones
The terms are easy to confuse:
- Over-ear headphones: The ear cups surround the ears.
- On-ear headphones: The smaller cups rest on the ears.
- In-ear headphones: Ear tips sit inside the ear canal.
Over-ear models are often useful for home listening, work, travel, gaming, and studio tasks. Their main trade-offs are size, heat, weight, and possible pressure around the head.
Main parts to know
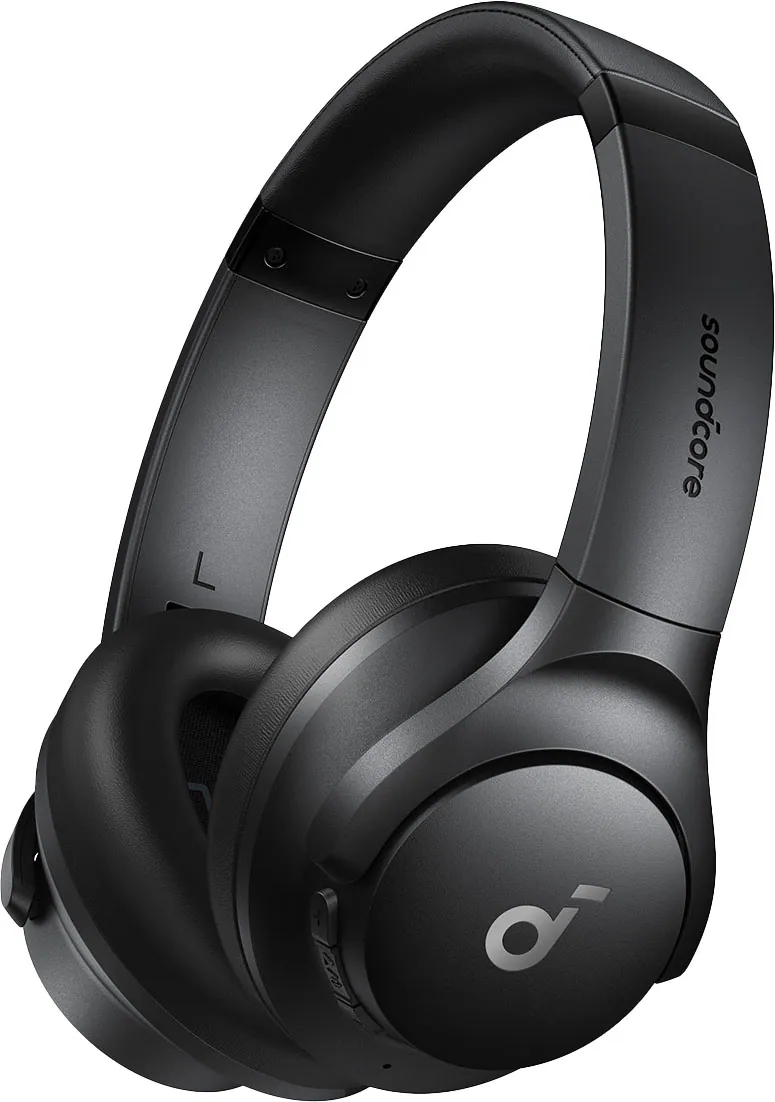
Most over-ear headphones include:
- Ear cups: The left and right speaker housings.
- Ear pads: Soft cushions around the cups.
- Headband: The band that holds the cups in place.
- Controls: Buttons, dials, or touch panels for playback and calls.
- Microphone: Built-in or detachable, often used for calls and gaming.
- Charging port: Found on wireless models.
- Audio port: Used for a wired connection on supported models.
Look for the L and R marks before putting the headphones on. The left and right channels are recorded separately in stereo audio.

How to Set Up Over-Ear Headphones
Set up over-ear headphones by checking the power, connection type, and device settings before you listen.
1. Check the power source
For wired headphones, connect the cable to the headphone jack, USB audio port, or compatible adapter. Some wired models still need power for noise cancellation or other features.
For wireless headphones:
- Charge the headphones with the included cable or a compatible charger.
- Turn them on.
- Check the status light or voice prompt.
- Keep the headphones near the device during the first pairing.
Use the charging method listed in the manual. Do not force a connector into the port.
2. Pair Bluetooth headphones
The exact menu names vary by device, but the process is usually similar:
- Put the headphones into pairing mode.
- Open Settings on your phone, tablet, computer, or TV.
- Open the Bluetooth menu.
- Select the headphone name.
- Wait for the connected status.
- Play a short audio clip to confirm the sound.
If the name does not appear, turn Bluetooth off and on again. Also check whether the headphones are already connected to another nearby device.
Some headphones support multipoint Bluetooth. This lets one pair connect to two devices, such as a laptop and phone. The feature may not work with every device or every app, so check the product manual for model-specific limits.
3. Install the companion app only when useful
Some brands offer an app for:
- Firmware updates
- Equalizer settings
- Noise-control modes
- Button customization
- Battery status
- Find-my-device features
An app is not required for basic headphone use unless the manufacturer requires it for setup. Review the permissions before installing it, and download it from the official Apple App Store, Google Play Store, or the manufacturer’s website.
4. Choose the correct audio output
A computer may send audio to its built-in speakers even after the headphones connect. Open the sound settings and select the headphones as the output device.
For calls, select the headphones as both:
- Speaker or output
- Microphone or input
On Windows, macOS, iPhone, Android, and smart TVs, these controls may appear in different menus. If an app has its own audio settings, check those too.

How to Wear Over-Ear Headphones Correctly
Wear over-ear headphones so the ear cups surround your ears, the headband rests comfortably, and the seal feels even on both sides.
- Find the L and R markings.
- Hold the cups with both hands.
- Place the cups over your ears.
- Adjust the headband until the cups sit at the same height.
- Center each ear inside the cushion.
- Turn the headphones on and play quiet audio.
- Move the cups slightly until the sound is balanced.
The ear pads should touch your head all around the ear. They should not press hard on the ear itself. If the cups feel tight, extend the headband one step at a time. If they slide down, shorten the band or adjust the cup angle.
How tight should over-ear headphones be?
The headphones should stay in place when you move your head but should not cause pain. A firm seal can improve bass and reduce outside sound, but excessive force can cause headaches or jaw pressure.
Signs of a good fit include:
- Both ears fit inside the cushions.
- The sound is similar in the left and right ears.
- The headphones stay in place when you look up or down.
- The headband does not dig into your scalp.
- You can wear them without pain or numbness.
Glasses can break the ear cup seal because the frames pass between the cushion and your head. If sound becomes thin, reposition the cups or try softer replacement pads that fit the headphone model.
How to wear headphones with long hair
Long hair can sit between the ear pad and your head. This may reduce the seal and lower bass. Move the hair away from the cup area, then check whether the left and right sound levels match.
Do not pull the headband tightly to compensate for a poor seal. A better fit around the ear usually works better than extra pressure.

How to Use Headphone Controls
Use the controls to manage playback, calls, volume, noise modes, and voice assistants. The exact commands depend on the model.
Common controls include:
- One press: Play or pause
- Two presses: Skip to the next track
- Long press: Power, pairing, or voice assistant
- Volume buttons: Increase or decrease sound
- Noise-control button: Switch between noise cancellation and transparency modes
- Call button: Answer or end a call
Touch controls may respond to a tap, swipe, or press. Read the manual before changing gestures because a wrong command can pause music or end a call.
Noise cancellation and transparency modes
Active noise cancellation, or ANC, uses microphones and electronic processing to reduce some outside sounds. It often works best with steady low sounds, such as an airplane engine or air conditioner.
Transparency mode uses microphones to let outside sound pass through the headphones. This can help you hear announcements or speak without removing the headphones.
Neither mode replaces awareness in traffic, near moving vehicles, or around hazards. Lower the volume and remove the headphones when you need to hear warnings clearly.
Using the microphone
For clearer calls:
- Keep the microphone opening free of hair and clothing.
- Select the headphones as the call microphone.
- Move away from loud fans or wind.
- Speak at a normal level.
- Check the mute button in the meeting app and on the headphones.
A Bluetooth headset may use a different audio mode during calls. Sound quality can change because the microphone and speakers share the wireless connection. This is a normal limitation of some Bluetooth profiles, not always a hardware fault.

How to Set a Safe Listening Volume
Set the volume as low as possible while still hearing the content clearly. Long exposure to loud sound can damage hearing, and the risk increases as volume and listening time rise.
The National Institute for Occupational Safety and Health identifies 85 dBA over an eight-hour workday as a recommended exposure limit for occupational noise. Personal headphone output can vary by device, recording, fit, and measurement method, so a phone’s volume percentage does not equal a fixed sound level.
Use these practical habits:
- Start playback at a low volume.
- Raise it only until speech and music are clear.
- Take regular quiet breaks.
- Lower the volume in quiet rooms.
- Avoid using high volume to cover background noise.
- Stop if you notice ringing, muffled hearing, pain, or unusual sensitivity.
The CDC advises that loud noise can cause hearing loss and recommends reducing exposure when possible. If ringing or muffled hearing continues after listening, stop using the headphones and contact a qualified health professional.
Does noise cancellation protect hearing?
No. Noise cancellation may make it easier to listen at a lower volume because it reduces some background sound. It does not guarantee a safe sound level and should not be used as industrial hearing protection.
Use hearing protection rated for the hazard when required by an employer, workplace rule, or safety assessment.
How to Use Over-Ear Headphones for Different Activities
The best setup changes with the task. Music, calls, gaming, travel, and exercise place different demands on headphones.
For music and podcasts
Use a comfortable fit and moderate volume. If music sounds weak or the bass changes when you move, check the ear cup seal.
An equalizer can change bass, treble, and vocal clarity. Make small changes and compare them with familiar recordings. A strong bass boost may make speech harder to understand and can encourage higher volume.
For work and video calls
Use the correct microphone input and speaker output. Put the microphone close enough to pick up your voice, but do not cover it with clothing.
For long work sessions:
- Keep the volume moderate.
- Remove the headphones during breaks.
- Wipe sweat from the ear pads.
- Change the fit if pressure builds.
- Use transparency mode when you need to hear coworkers.
For gaming
Connect the headphones to the platform supported by the model. A 3.5-mm cable may work with a controller, while USB or wireless connections may require a console setting or a compatible adapter.
For team chat, check:
- Microphone input
- Chat volume
- Game volume
- Mic mute status
- Party or team permissions
Virtual surround sound can change how game sounds appear, but it does not guarantee better performance. Use the setting that helps you locate sounds without increasing the volume.
For travel
Charge wireless headphones before leaving and bring a cable if the model supports wired playback. Keep the headphones in a case to protect the hinges and ear pads.
On an airplane, Bluetooth use depends on airline instructions and device rules. Follow the crew’s directions. Noise cancellation can reduce steady cabin noise, but it does not remove every sound.
For exercise
Many large over-ear headphones are not designed for sweat or rain. Check the model’s water-resistance rating before using it outdoors or during exercise.
Do not assume that a wireless design is waterproof. If the manufacturer does not list a suitable rating, keep the headphones away from sweat and water.

How to Clean and Maintain Over-Ear Headphones
Clean the ear pads and touch surfaces with a soft, lightly damp cloth. Turn the headphones off and disconnect them before cleaning.
Follow these steps:
- Remove loose dust with a dry, soft cloth.
- Wipe the headband, buttons, and outer cups.
- Clean the ear pads with a cloth that is damp, not wet.
- Let all parts dry fully before use.
- Store the headphones in a cool, dry place.
Do not pour liquid onto the headphones. Avoid spraying cleaner into the ear cups, charging port, microphone openings, or audio jack.
Sweat, skin oil, and heat can wear down ear pads over time. Replaceable pads can often restore comfort, but use parts that fit the exact model. Aftermarket pads may change the seal, bass response, noise cancellation, or microphone performance.
Keep firmware updated when the manufacturer provides a clear update method. Do not interrupt an update unless the instructions say it is safe to do so.
Common Over-Ear Headphone Problems and Fixes
Start with simple and safe checks before resetting or replacing the headphones.
| Problem | Likely causes | What to try |
|---|---|---|
| No sound | Wrong output, low battery, muted device | Select the headphones as output, charge them, and raise the device volume slightly |
| One side is quiet | Poor seal, balance setting, dirty connection | Refit the cup, check left-right balance, and inspect the cable |
| Bluetooth will not connect | Headphones connected elsewhere, pairing mode off | Disconnect the old device, enter pairing mode, and try again |
| Music cuts out | Low battery, distance, wireless interference | Charge the headphones and move closer to the source |
| Microphone does not work | Wrong input, mute enabled, app permission | Select the headphone mic and check mute and permission settings |
| Headphones hurt | Excessive clamp, wrong position, heat | Loosen the band, recenter the cups, and take a break |
| Bass sounds weak | Hair, glasses, poor seal, open-back design | Improve the seal and check whether the model is designed to let sound through |
| Headphones will not charge | Cable, charger, port, or battery fault | Try the supplied cable, inspect the port, and follow the manual’s reset steps |
If Bluetooth pairing fails
Try this order:
- Turn Bluetooth off on devices that may have connected first.
- Power the headphones off and on.
- Enter pairing mode again.
- Remove or forget the headphones in the device’s Bluetooth list.
- Pair them again.
- Reset the headphones only if the manual recommends it.
A factory reset can remove saved connections and custom settings. Use it after basic checks, not as the first step.
If the headphones sound too quiet
Check the volume on both the source device and the headphones. Some phones and computers have separate app, media, call, and system volume controls.
Also check:
- Left-right balance
- Hearing or accessibility limits
- Cable connection
- Bluetooth output selection
- Ear cup seal
- Audio normalization settings
Do not keep raising the volume if the headphones remain quiet. A damaged cable, blocked port, weak battery, or hardware fault may be the cause.
If the headphones cause pain
Remove them and let your ears and skin recover. Then try a looser headband setting and a different cup position. Persistent pain, skin damage, numbness, or hearing symptoms should be assessed by a qualified health professional.
Common Mistakes to Avoid
Avoid these mistakes when using over-ear headphones:
- Wearing the left and right cups on the wrong ears
- Setting the volume high to block background noise
- Treating ANC as hearing protection
- Charging with a damaged cable
- Using non-water-resistant headphones in heavy sweat or rain
- Cleaning with too much liquid
- Covering the microphone
- Ignoring pain, ringing, or muffled hearing
- Leaving wireless headphones connected to an unwanted device
- Storing the headphones where heat or moisture can damage the battery
A short setup check prevents most daily problems: confirm the fit, output device, volume, battery, and microphone before starting.

Frequently Asked Questions
How long can you wear over-ear headphones?
There is no single safe time for every listener because risk depends on volume, sound exposure, fit, and personal sensitivity. Use moderate volume, take quiet breaks, and stop if you notice pain, ringing, or muffled hearing.
Are over-ear headphones better than earbuds?
Neither type is best for everyone. Over-ear headphones may feel more comfortable for people who dislike objects in the ear, while earbuds are smaller and easier to carry. The safer choice is the one that lets you hear clearly at a lower volume and does not cause pain.
Can you use over-ear headphones without Bluetooth?
Yes. Use a compatible audio cable if the headphones have a wired input. Some wireless models support wired audio even when the battery is empty, while others still need power for active features.
Why do my over-ear headphones leak sound?
Sound leakage can result from high volume, an open-back design, a weak ear cup seal, or worn ear pads. Lower the volume and check the fit. Open-back headphones are designed to let more sound pass through and are not ideal for quiet public spaces.
Can over-ear headphones damage your ears?
They can contribute to hearing damage if used at loud volume for long periods. The risk comes from sound exposure, not simply from the headphones being over-ear. Keep volume moderate and take breaks.
Final Takeaway
To use over-ear headphones correctly, place the right cup on each ear, adjust the headband for a stable but gentle fit, connect the proper audio source, and begin at a low volume. Use noise cancellation for comfort, not as a substitute for hearing protection. Keep the headphones dry and clean, and stop using them if they cause pain or hearing symptoms.
If a problem occurs, check the output device, battery, Bluetooth connection, fit, cable, and microphone settings before resetting the headphones. Always follow the product manual for model-specific controls, charging instructions, water resistance, and replacement parts.