How To Put On Over Ear Headphones: Easy Comfort Guide

Introduction
Whether you use headphones on a New York subway, at a home office in Texas, or during a flight from California, the right fit starts with the same basic steps: identify the left and right earcups, extend the headband, place the cups over your ears, and adjust the seal without squeezing too hard. A correct fit should feel stable and comfortable, not tight or painful.
Putting on over-ear headphones the right way can improve comfort, sound quality, bass response, and noise isolation. It can also help prevent pressure points around your ears and reduce the need to raise the volume to overcome outside noise.
What Are Over-Ear Headphones?
Over-ear headphones have large earcups that surround your ears instead of resting directly on them. The ear cushions should touch the area around your ears and form a light seal against your head.
This design differs from:
- On-ear headphones: Rest on the outer ear.
- In-ear headphones: Sit inside the ear canal.
- Open-back headphones: Let some air and sound pass through the rear of the earcups.
- Closed-back headphones: Use sealed earcups to block more outside sound.
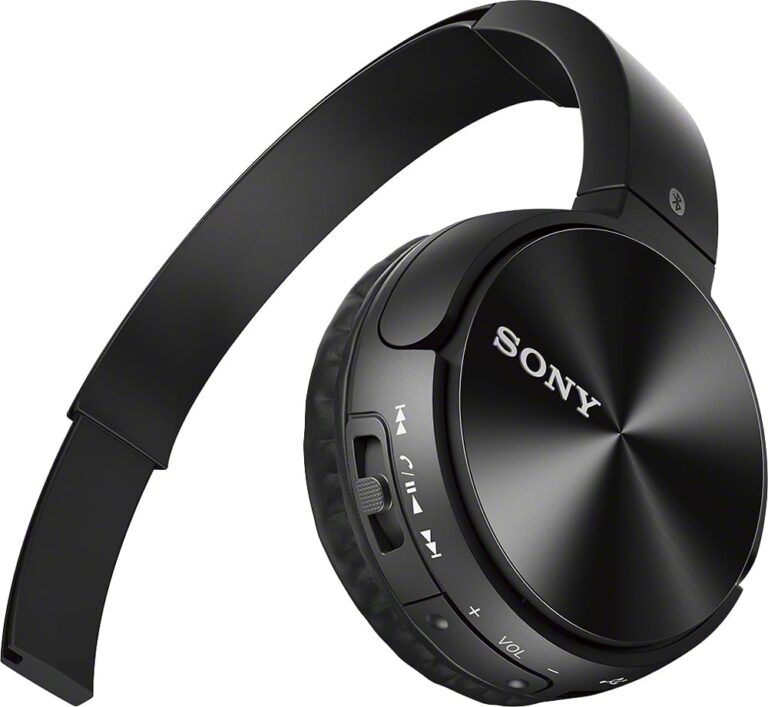
Most over-ear headphones have these parts:
- Left and right earcups: Usually marked with “L” and “R.”
- Ear cushions: Soft pads that rest around the ears.
- Headband: The band that rests on top of your head.
- Slider or adjustment arms: Let you change the headband height.
- Hinges or swivel joints: Allow the earcups to move slightly.
- Controls: May include power, volume, play, pause, or noise-control buttons.
The earcups should surround your ears fully. If part of your ear sits under the cushion, the headphones may be too small, too low, or positioned incorrectly.
How to Put on Over-Ear Headphones
Follow these steps each time you put on over-ear headphones.
1. Check the left and right sides
Look for the small L and R markings inside or near the earcups. Place the left cup over your left ear and the right cup over your right ear.
Some headphones have controls, a microphone, or a charging port on one side. However, do not rely only on the control layout. Check the markings because some models place controls in different locations.
2. Loosen the headband if needed
Before putting the headphones on, extend the sliders slightly if the band looks too short. This gives the earcups room to move into place without pulling down on your ears.
Do not force the adjustment arms. Hold the headband near the slider and move both sides evenly when possible.
3. Lift the headphones over your head
Hold the headband with both hands. Raise it over your head and lower it gently.
Avoid pulling the headphones onto your head by one earcup. That can twist the headband and place uneven stress on the hinges.
4. Center the headband
Place the headband across the top of your head. It should sit near the center of your scalp, not far toward your forehead or the back of your head.
A centered band spreads the weight more evenly. If the band sits too far forward, it may press on your forehead. If it sits too far back, the earcups may slide or sit too low.
5. Position each earcup around your ear
Use one hand to guide each earcup. Move the cups until your ears sit inside the openings.
The cushions should rest around the outer edges of your ears. They should not fold your ears forward or press the ear cartilage sharply.
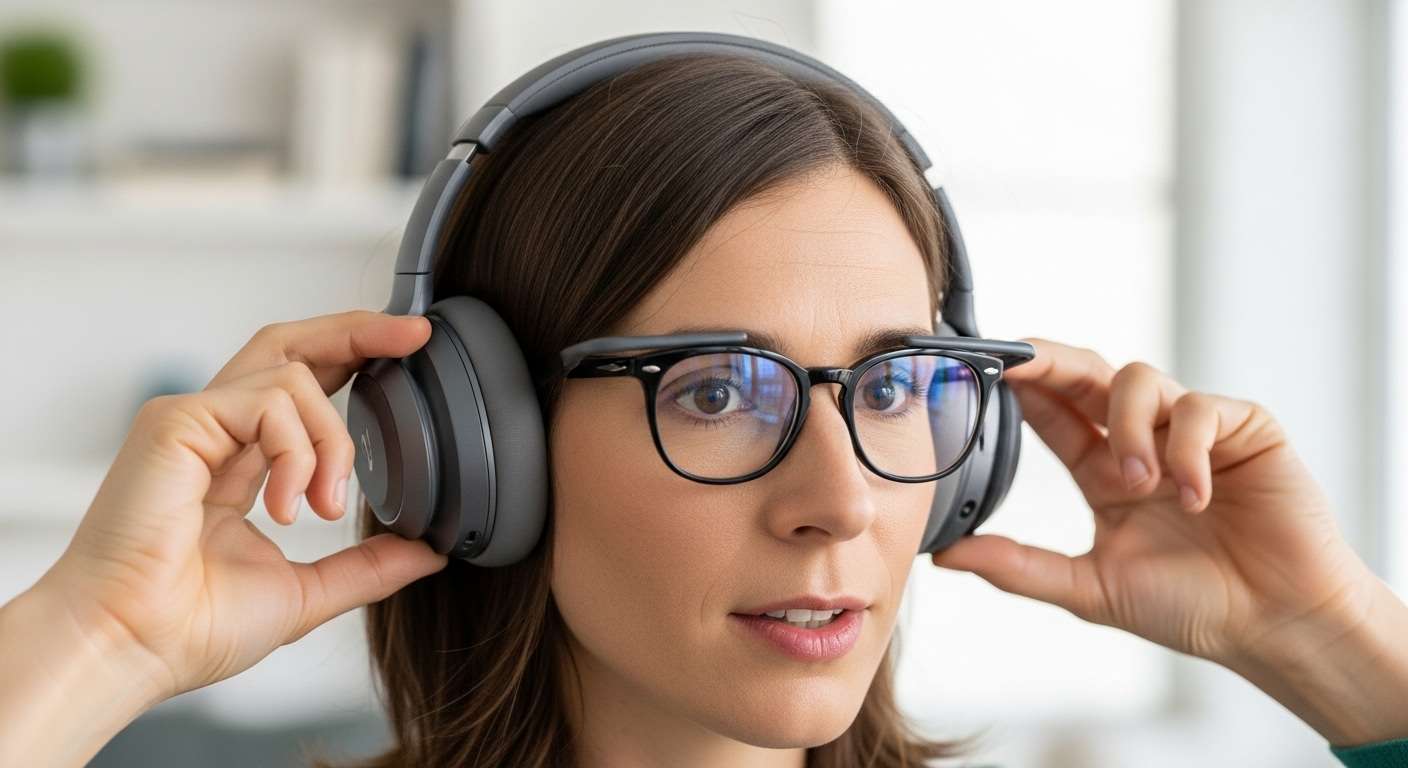
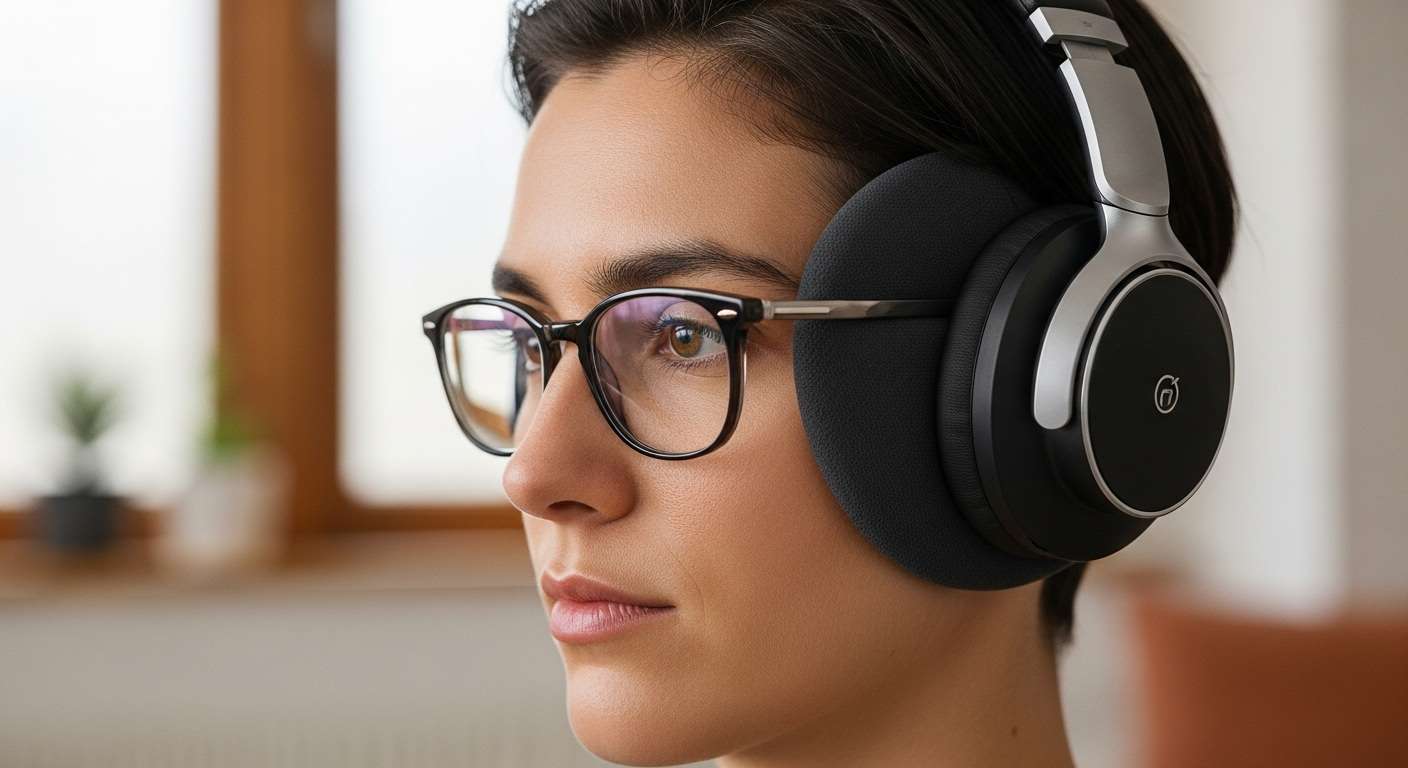
If you wear glasses, position the headphone cushions so they sit as evenly as possible around the eyeglass arms. Thick frames can break the seal and increase pressure in one spot.
6. Adjust the height
Slide each side up or down until the ear openings line up with your ears. Make small adjustments to both sides so the headband remains centered.
The bottom of each earcup should not push upward on your jaw. The top should not press hard against the side of your head.
7. Check the seal and stability
Turn your head left and right. Then look slightly up and down.
The headphones should stay in place without sliding. The cushions should make light, even contact with your head. If the headphones move, adjust the headband or earcup position instead of tightening them sharply.
8. Connect and test the headphones
For wired headphones, connect the cable after the headphones are positioned. For Bluetooth headphones, turn them on and confirm that they connect to the correct device.
Start playback at a low volume. Check that sound comes from the correct sides. If the left and right channels sound reversed, verify the fit, cable connection, and device settings.

How Should Over-Ear Headphones Fit?
Over-ear headphones should feel secure but not painful. The ear cushions should surround the ears, and the headband should support the headphones without creating a strong pressure point.
Use this quick fit check:
| Check | Correct sign | Possible problem |
|---|---|---|
| Ear position | Both ears fit inside the cushions | Ears are partly covered or folded |
| Headband | Centered and lightly resting on the head | Band pulls forward or backward |
| Pressure | Even contact around both ears | Sharp pressure in one area |
| Movement | Stays in place during normal head movement | Slides or feels loose |
| Sound | Left and right channels are correct | Channels sound reversed |
| Comfort | No pain, numbness, or throbbing | Headphones are too tight or poorly sized |
A small amount of pressure can be normal. Pain is not a sign that the headphones need more adjustment. Remove them and try again if you feel numbness, skin irritation, headache, or pain around the ears.
A good fit can also improve bass. Many closed-back headphones depend on a consistent seal. Gaps caused by hair, glasses, or poor positioning can make low sounds seem weaker.

How to Put on Headphones With Glasses, Long Hair, or a Hat
Headwear and hair can change the fit of over-ear headphones. Make small changes rather than clamping the headphones tighter.
If you wear glasses
Place the headphones on your head first. Then check where the earcup cushions meet the eyeglass arms.
Thick or rigid frames may create a gap in the seal. They can also cause pressure behind the ears. If this happens, try lowering the glasses arms slightly, changing the earcup position, or using headphones with softer cushions.
Do not bend your glasses to improve the headphone fit.
If you have long or thick hair
Move loose hair away from the cushion area. Hair between the cushion and your head can reduce the seal and make the headphones slide.
You do not need to pull your hair tightly. A loose style that keeps hair from sitting under the cushions is usually more comfortable.
If you wear a hat
A thin, smooth hat may work with some headphones. A thick cap can increase pressure and change the position of the earcups.
Put the headphones over the hat only if the fit remains stable and comfortable. If the headphones feel too tight, remove the hat or extend the headband.
If you have piercings
Check that the ear cushions do not press against new or sensitive piercings. Remove the headphones if you notice pain, swelling, bleeding, or skin irritation.

How to Put on Wireless and Noise-Canceling Headphones
Wireless and noise-canceling headphones go on the same way as wired headphones. The main difference is the setup that follows.
- Charge the headphones if needed.
- Check the left and right earcups.
- Put them on and adjust the fit.
- Turn them on.
- Connect them to the intended phone, tablet, computer, or other device.
- Start at a low volume.
- Choose the desired noise-control mode.
Active noise cancellation, often called ANC, uses microphones and electronic processing to reduce some outside sounds. ANC does not create a safer fit, and it does not remove every sound. Voices, alarms, traffic, and sudden high sounds may still be heard.
Do not rely on noise cancellation to stay aware in situations that require attention. Use extra care near roads, train platforms, parking lots, construction areas, and other public spaces.
If the headphones sound weak or uneven after ANC is turned on, check the earcup position and seal first. Then check the app settings, equalizer, and source device.
How Tight Should Over-Ear Headphones Be?
Over-ear headphones should be tight enough to stay in place but loose enough for extended comfort. There is no single correct pressure because head size, ear shape, cushion material, and headphone design vary.
Use this adjustment order:
- Center the headband.
- Place the earcups around the ears.
- Extend the headband if the cups press too hard.
- Check whether the cushions sit evenly.
- Tighten only if the headphones move during normal use.
Do not solve a poor fit by pushing the earcups harder against your head. Excess pressure can cause discomfort at the jaw, temples, ears, or top of the head.
Headphones that are too loose may leak sound and fall off. Headphones that are too tight may cause pain and heat buildup. The best fit is the lightest pressure that keeps the cups centered and stable.
Safe Listening Tips
Correct placement does not protect hearing from excessive sound. The Centers for Disease Control and Prevention explains that loud sound can damage hearing, especially when exposure is repeated or lasts a long time.
Use these habits:
- Start at a low volume and raise it only as needed.
- Take breaks during long listening sessions.
- Lower the volume before removing or putting on the headphones.
- Do not use high volume to cover traffic, conversation, or machinery.
- Give your ears time away from loud sound.
- Stop listening if you notice ringing, muffled hearing, pain, or unusual sensitivity.
You may not know the exact sound level reaching your ears because device volume percentages differ by phone, computer, headphone model, recording, and connection type. A lower setting is generally the safer starting point, but comfort alone does not prove that the level is safe.
If ringing or muffled hearing continues after exposure, or if you notice a sudden change in hearing, seek medical advice promptly.

Common Mistakes When Putting on Over-Ear Headphones
Putting the left cup on the right ear
This reverses stereo channels. It can affect music, games, movies, and calls.
Wearing the headband too far forward
This can make the headphones feel heavy and may cause forehead pressure.
Leaving hair under the cushions
Hair can break the seal and make the headphones slide.
Pulling on one earcup
This may twist the headband or strain the hinge. Use both hands when adjusting the headphones.
Making the headphones too tight
Extra pressure does not always improve sound. It can cause pain and heat.
Ignoring the earcup angle
Some earcups swivel. Let them sit naturally against the sides of your head rather than forcing them into a flat position.
Wearing damaged cushions
Cracked or flattened cushions may expose hard edges and reduce the seal. Replace them if the manufacturer offers compatible replacement pads.
Cleaning with too much liquid
Moisture can damage microphones, controls, drivers, and charging ports. Follow the manufacturer’s cleaning instructions and keep liquid away from electronic openings.

What to Do If Over-Ear Headphones Do Not Fit
If the headphones still feel wrong, remove them and check one issue at a time.
- They hurt the top of your head: Adjust the headband height or try a different headband position.
- They press on your ears: Confirm that your ears fit inside the cushions. The earcups may be too small.
- They slide down: Shorten the headband slightly or check whether hair or sweat is reducing grip.
- They feel uneven: Adjust both sliders and check that one earcup is not extended farther than the other.
- They sound thin: Check the seal, hair, glasses, cable, audio source, and equalizer.
- One side is quiet: Confirm the cable connection, balance settings, Bluetooth connection, and earcup position.
- They cause a headache: Remove them and stop using them until the pressure problem is resolved.
- They become hot: Take a break, reduce the listening time, and clean or replace the cushions if needed.
If the headphones remain painful even after careful adjustment, their size or shape may not suit you. Do not continue wearing a device that causes pain.
Frequently Asked Questions
Should the headband sit in front of or behind the ears?
The headband should sit over the top of your head. It should not sit directly in front of or behind your ears. Centering it usually gives the earcups the most balanced position.
Should my ears touch the inside of over-ear headphones?
Your ears should generally fit inside the earcup opening. They may lightly touch the inner fabric or mesh, but they should not be folded or pressed sharply by the cushion.
Can I wear over-ear headphones backward?
You can physically wear some headphones backward, but the left and right audio channels may be reversed. Microphones and controls may also point in the wrong direction. Use the marked left and right sides unless the manufacturer provides another wearing mode.
Why do my headphones sound better when I press them against my head?
Pressing the earcups may temporarily improve the seal. This often means hair, glasses, a poor earcup position, or an unsuitable cushion is creating a gap. Do not keep pressing the headphones tightly; adjust the fit instead.
How often should I clean over-ear headphone cushions?
Clean them when you notice sweat, oil, dust, or buildup. Follow the manufacturer’s instructions. In general, use a soft, slightly damp cloth on suitable surfaces, avoid soaking the cushions, and let them dry fully before use.
Conclusion
To put on over-ear headphones correctly, check the left and right sides, place the headband at the center of your head, and adjust each earcup until it surrounds your ear. The fit should stay stable with light, even pressure.
If the headphones cause pain, numbness, ringing, or muffled hearing, remove them and reassess the fit and volume. A comfortable seal is useful, but safe listening habits matter more than a tight fit.