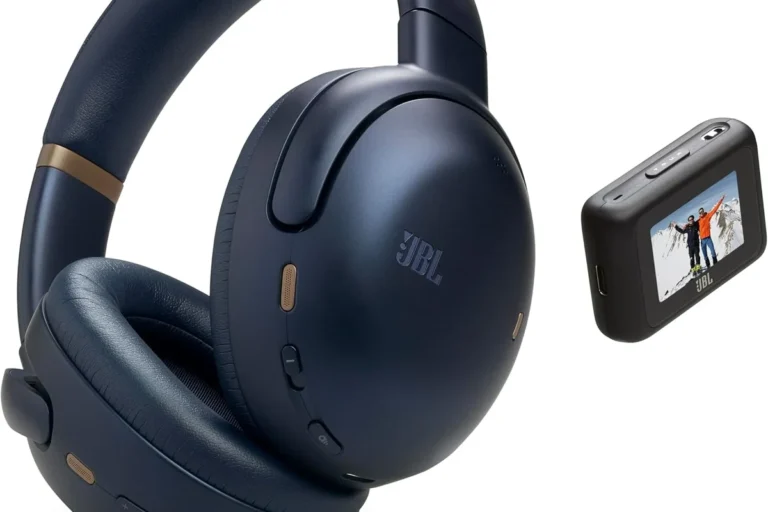
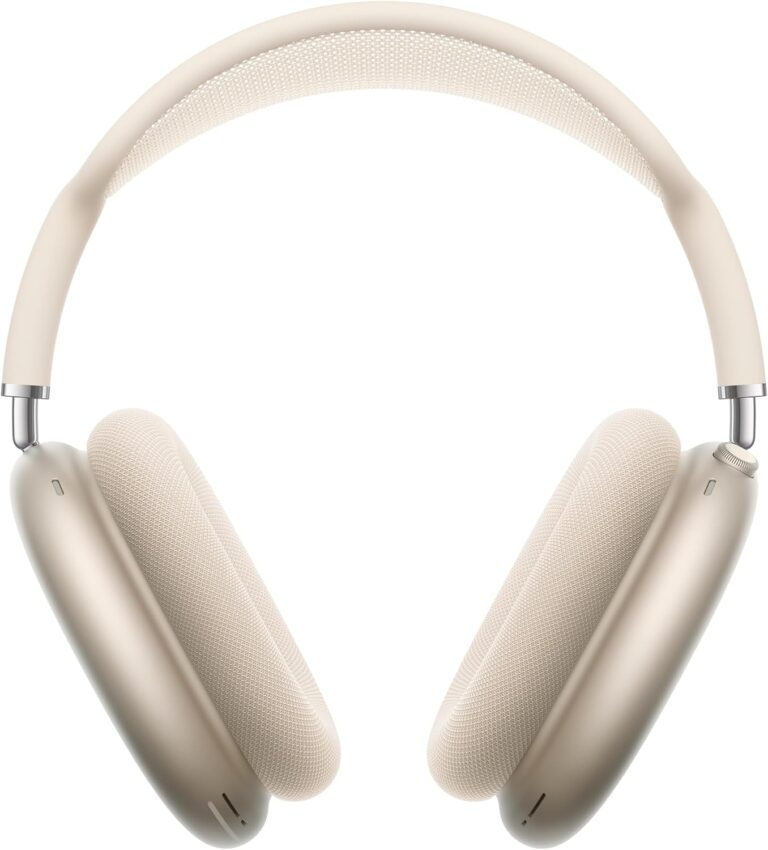
How To Measure Headphone Size: Easy Fit Guide

Headphone size is measured by comparing your head and ears with the headset’s adjustable range, earcup opening, cushion depth, and headband design. In the United States, most headphones use a flexible “one-size-fits-most” design rather than fixed sizes. Measuring your head and ears before you buy can still help you choose between on-ear, over-ear, and small or large over-ear models.
The best fit should hold the headphones securely without pinching your ears, pressing hard on your head, or leaving gaps around the cushions.
Key Takeaways
- Measure your head circumference with a soft tape or piece of string.
- Measure ear height and width if you are shopping for over-ear headphones.
- Compare your measurements with the manufacturer’s earcup and headband specifications.
- On-ear headphones sit on the ear, while over-ear headphones should surround it.
- Earcup opening size matters more than the outside size of the earcup.
- Test the fit with glasses, earrings, or hearing aids if you normally wear them.
- Stop using headphones if they cause pain, numbness, skin damage, or lasting ringing in your ears.
What Does “Headphone Size” Mean?
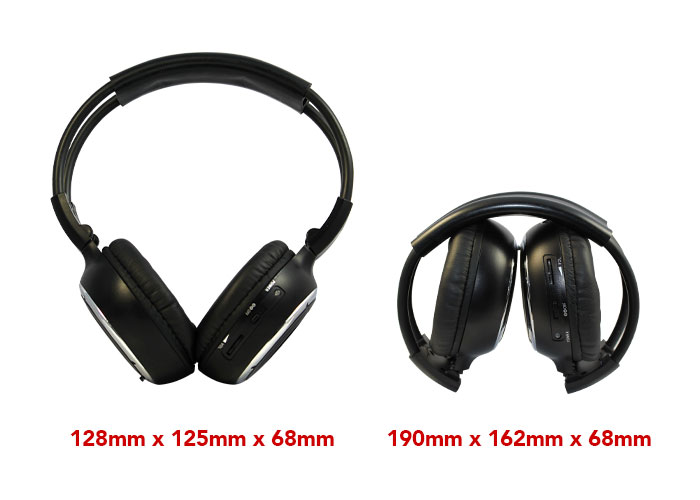
“Headphone size” can describe several different measurements. It may refer to headband adjustment, earcup size, ear cushion size, or the overall dimensions of the headphones.
A headphone can have large outer earcups but small inner openings. For comfort, the inner opening and cushion depth usually matter more than the outside shell.
The main headphone measurements
| Measurement | What it tells you | Why it matters |
|---|---|---|
| Head circumference | The size of your head around the temples and back | Helps you judge headband fit |
| Ear height | The distance from the top to the bottom of your ear | Helps you choose an over-ear opening |
| Ear width | The widest part of your ear | Helps prevent side pressure |
| Earcup opening | The open space inside the cushion | Shows whether the ear will fit inside |
| Earcup depth | The space between the cushion and the speaker grille | Helps prevent your ear from touching the driver |
| Headband range | How far the band can extend | Helps you check adjustment room |
| Clamping force | How firmly the headphones press inward | Affects comfort and stability |
Manufacturers do not always list every measurement. Some list the outside earcup size but not the inner opening. When the inner opening is missing, use the available specifications as a guide and check the return policy before buying.
On-ear versus over-ear headphones
On-ear headphones rest directly on the outer ear. They do not need an opening large enough to surround the entire ear. Their fit depends more on pad shape, pressure, and ear placement.
Over-ear headphones should surround the ear. The cushion should touch the area around the ear rather than press on the ear itself. If the top or bottom of your ear touches the cushion opening, the earcup may be too small.
In-ear headphones and earbuds are measured differently. Their fit depends on ear tip size, nozzle shape, insertion depth, and the shape of the ear canal. Head circumference is not useful for sizing earbuds.
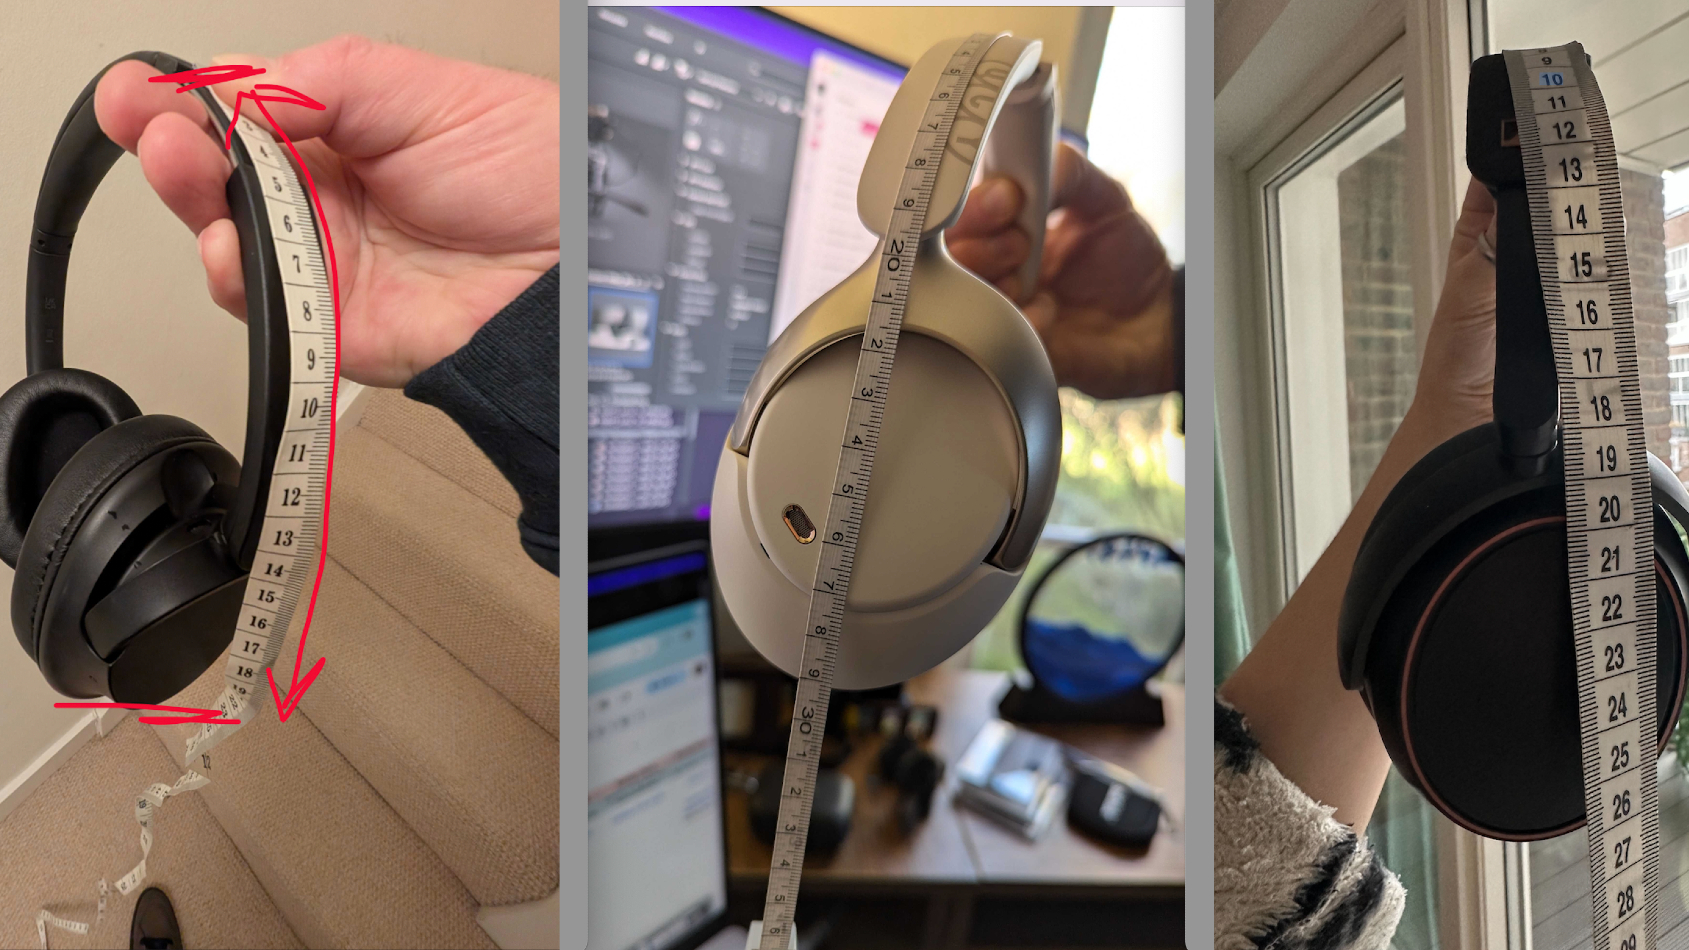
What You Need to Measure Headphone Size
You can measure headphone fit with a soft measuring tape, a ruler, a piece of string, and a mirror. A flexible tape used for sewing works best, but string also works well.
Gather these tools
- Soft measuring tape
- Ruler with inches and centimeters
- String or shoelace, if you do not have a tape
- Pen or marker
- A mirror or another person to help
- The headphone specifications from the manufacturer
Use the same unit shown in the product specifications. Many U.S. product pages list inches, while some list millimeters or centimeters.
Do not stretch the tape tightly. It should sit against your head or ear without digging into the skin.
Measure with your normal accessories
If you wear glasses, earrings, hearing aids, or a head covering, measure and test the headphones with those items. Thick glasses frames can create a gap under the cushion. Large earrings can interfere with the earcup or create pressure.
Your hair can also affect the fit. Very thick or curly hair may change the seal and reduce the space inside the earcup. Measure as you normally wear your hair if comfort and noise isolation are important.
How to Measure Your Head for Headphones
Follow these steps to measure head size for a headphone headband.
Step 1: Measure head circumference
Wrap the tape around your head at the point where the headphone band will sit. Start near the middle of your forehead, pass the tape above your ears, and continue around the widest part of the back of your head.
Keep the tape level. It should feel comfortable, not tight.
Record the result in inches and centimeters. If you use string, mark the point where the ends meet, then measure the string with a ruler.
Step 2: Measure the height of the headband position
Place your headphones, or a similar pair, on your head. Note where the headband rests. Some people wear the band near the top of the head, while others position it slightly farther forward or back.
The position changes the distance between the top of your head and your ears. This affects how far the headband must extend.
Step 3: Check the adjustment range
Look for terms such as:
- Adjustable headband
- Headband extension
- Slider range
- Maximum extension
- Ear-to-ear width
- Product dimensions
Manufacturers may measure the adjustment range in different ways. A listed product height may include the folded or fully extended headset, not the actual usable headband range.
If the manufacturer does not provide a range, photos and user manuals may show how the sliders work. A return option is useful when the available measurement is unclear.
How to tell if the headband is the right size
A properly sized headband should:
- Rest near the center of your head
- Keep both earcups level
- Stay in place when you move
- Avoid pressing hard on the top of your head
- Avoid extending to its mechanical limit
If the sliders are fully extended but the earcups still sit too high, the headphone may be too small for you. If the band collapses almost fully while the earcups still fit, the model may be designed for a smaller head or may simply have a short adjustment range.

How to Measure Your Ears for Over-Ear Headphones
Ear measurements are often more useful than head circumference when you are choosing over-ear headphones.
Step 1: Measure ear height
Place the end of a ruler at the lowest point of your outer ear. Measure straight up to the highest point.
Do not measure from the ear canal. Measure the full outer ear, including the upper rim.
Record the height in millimeters, centimeters, or inches.
Step 2: Measure ear width
Measure across the widest part of your outer ear. Keep the ruler level and do not press the ear flat.
If your ears are different sizes, measure both. Use the larger measurement when comparing headphones.
Step 3: Measure ear depth when possible
Ear depth is harder to measure at home, but it can explain why an earcup feels uncomfortable even when the opening seems large enough.
You can estimate depth by noting how far your ear projects from the side of your head. A mirror can help. The more your ear projects outward, the more cushion depth you may need.
A shallow cup may allow your ear to touch the inside speaker grille. That contact can cause pressure, heat, or pain during long listening sessions.
Step 4: Compare your measurements with the inner opening
Find the manufacturer’s inner earcup dimensions. These may appear as:
- Inner cup dimensions
- Ear opening
- Earpad opening
- Cushion opening
- Usable ear space
Compare the opening with your ear height and width. The opening should be large enough for your ear to sit inside without the cushion pressing on the ear.
There is no universal clearance number because cushions compress, openings have different shapes, and ears are not perfectly rectangular. Treat the listed dimensions as a guide, not a guarantee.
What to do if the inner opening is not listed
If the inner opening is missing, look for:
- A product manual with technical drawings
- Replacement ear pad specifications
- A direct measurement from a reliable retailer
- Photos showing the earcup beside a ruler
- A clear return policy
Do not assume that a 50-millimeter driver creates a 50-millimeter ear opening. The driver is the speaker component inside the cup. It is not the same as the usable space around your ear.
How to Measure Headphones You Already Own
Measuring an existing pair can help you compare it with a new model.
Measure the earcup opening
Remove the ear pad only if the manufacturer allows it and the pad is designed to come off. Otherwise, measure the visible inner opening without pulling hard on the cushion.
Measure:
- The tallest part of the opening
- The widest part of the opening
- The cushion depth, if you can measure it without damaging the pad
Record the shape as well. A tall oval opening may fit better than a short round opening even when both have a similar area.
Measure the headband range
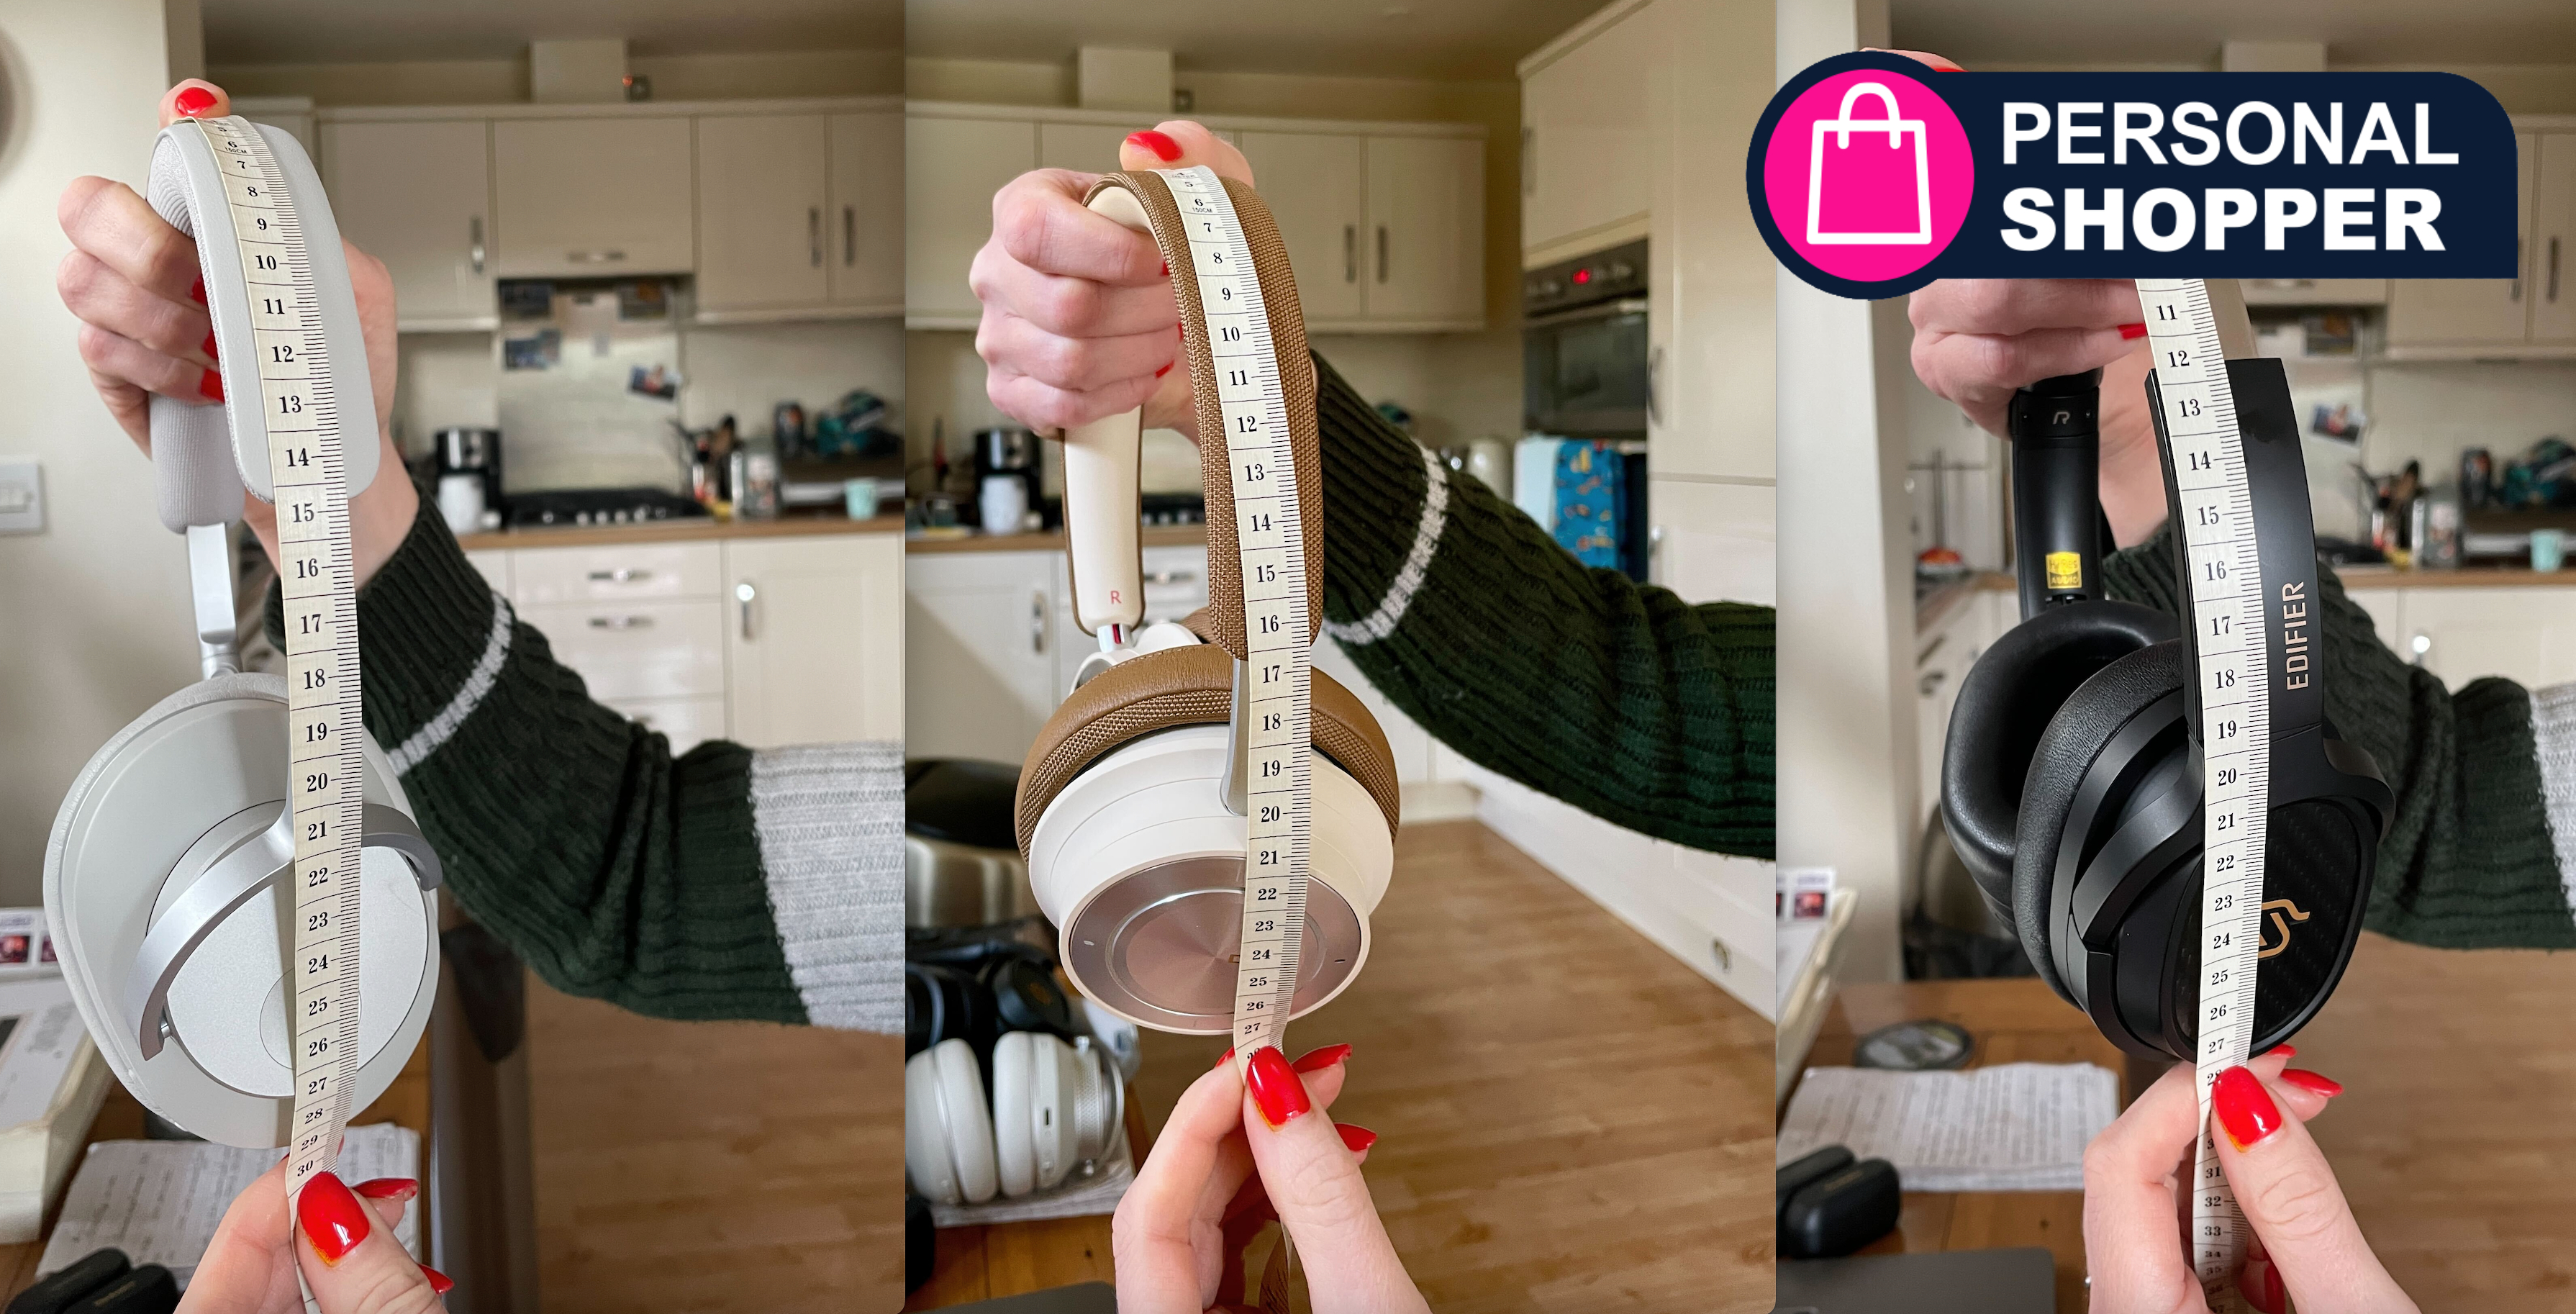
Measure from the center of the headband to the center of the earcup with the slider at its shortest setting. Then repeat the measurement at its longest setting.
This gives you an approximate adjustment range. The result may not match the manufacturer’s published measurement because companies use different reference points.
Measure the ear pad
Measure the ear pad’s:
- Outside height
- Outside width
- Inside height
- Inside width
- Thickness
Replacement pads can change the fit. Thicker pads may give your ears more room, but they can also change the distance between your ears and the speakers. That may affect sound, noise isolation, and comfort.
How to Choose the Right Headphone Size
Use your measurements to compare the headphone type, earcup opening, headband range, and wearing conditions.
| Your situation | What to look for |
|---|---|
| Small head | Short minimum adjustment and a stable headband |
| Large head | A long extension range and flexible headband |
| Large or tall ears | A tall inner opening and enough cushion depth |
| Wide ears | A wide oval opening rather than a narrow round opening |
| Glasses wearer | Soft cushions that seal around the frames |
| Hearing aid wearer | Deep, roomy cups and low pressure |
| Long listening sessions | Low pressure, breathable pads, and no ear contact |
| Exercise or travel | A stable fit that does not slide during movement |
Use the largest measurement that affects fit
For over-ear headphones, the larger of your two ear measurements matters most. For example, if your ear is 62 millimeters tall and 38 millimeters wide, the earcup must provide enough usable height for the 62-millimeter measurement.
This is only a comparison method. An earcup opening of exactly the same height may still feel tight because of the opening shape, cushion thickness, or the position of the hinge.
Consider clamping force
Clamping force is the inward pressure created by the headband. It is not always listed in product specifications.
A tight clamp may improve stability and noise isolation, but it can cause discomfort near the temples or jaw. A loose clamp may feel comfortable at first but slip when you walk or turn your head.
The best level depends on your use. A headset for desk work can use a lighter clamp. A headset for commuting or exercise may need more stability.
Check the seal
For closed-back headphones and active noise-canceling models, the cushion should form a fairly consistent seal around the ear. Hair, glasses, and uneven pad pressure can create small gaps.
A poor seal may lead to:
- Weaker bass
- More outside noise
- Uneven sound between the ears
- Reduced noise cancellation
A seal should not require painful pressure. If a headset only seals when it clamps tightly, the shape may not suit your head.

Common Headphone Measurement Mistakes
Many sizing problems come from measuring the wrong part of the headphones.
Mistake 1: Measuring the outside of the earcup
The outside shell does not show how much room your ear has. Measure the inner opening and cushion depth whenever possible.
Mistake 2: Treating driver size as earcup size
A 40-millimeter or 50-millimeter driver describes the speaker component. It does not tell you the exact ear opening or the full headphone size.
Mistake 3: Measuring the head too tightly
A tight tape measurement can make you choose a headband that feels restrictive. Keep the tape comfortable and level.
Mistake 4: Ignoring ear shape
Two people can have the same ear height but need different headphones. One ear may be round, narrow, thick, or angled differently.
Mistake 5: Forgetting glasses and hair
Glasses frames and thick hair can affect both comfort and the acoustic seal. Include them when you test the headphones.
Mistake 6: Assuming “one size fits all” means every head
“One size fits most” means the design has a useful adjustment range. It does not guarantee a comfortable fit for every person.
Mistake 7: Wearing headphones through pain
Pain, numbness, pressure marks, skin irritation, or a headache are signs to remove the headphones and reassess the fit. Do not keep wearing a headset to “break it in” if it causes significant discomfort.

Signs Your Headphones Are the Wrong Size
Your headphones may be too small if:
- Your ears touch the speaker grille
- The earcups sit on part of your ears when they should surround them
- The headband reaches its limit
- The cushions press into your jaw or temples
- You feel pain after a short period
Your headphones may be too large or loose if:
- The earcups slide when you move
- The headband loses contact with your head
- The seal changes when you turn your head
- The headset feels unstable when you bend down
- You must tighten the band fully to keep it in place
A fit can also fail because of pad shape rather than size. Replacing worn or flattened ear pads may restore comfort, but new pads can alter the sound and seal.

Headphone Comfort and Hearing Safety
Correct size improves comfort, but it does not make high volume safe. The Centers for Disease Control and Prevention advises reducing exposure to loud noise and using hearing protection when needed. If you notice ringing, muffled hearing, pain, or sound sensitivity after listening, lower the volume and give your ears a break.
Do not use headphone fit as a reason to increase the volume. A poor seal may make outside noise seem louder, but raising the volume can increase hearing risk. If hearing symptoms continue, seek advice from a qualified hearing professional.

Frequently Asked Questions
How do I know what headphone size I need?
Measure your head circumference, ear height, and ear width. For over-ear headphones, compare your ear measurements with the inner earcup opening and cushion depth. For on-ear headphones, focus more on pad size, pressure, and stability.
Is there a standard headphone size chart?
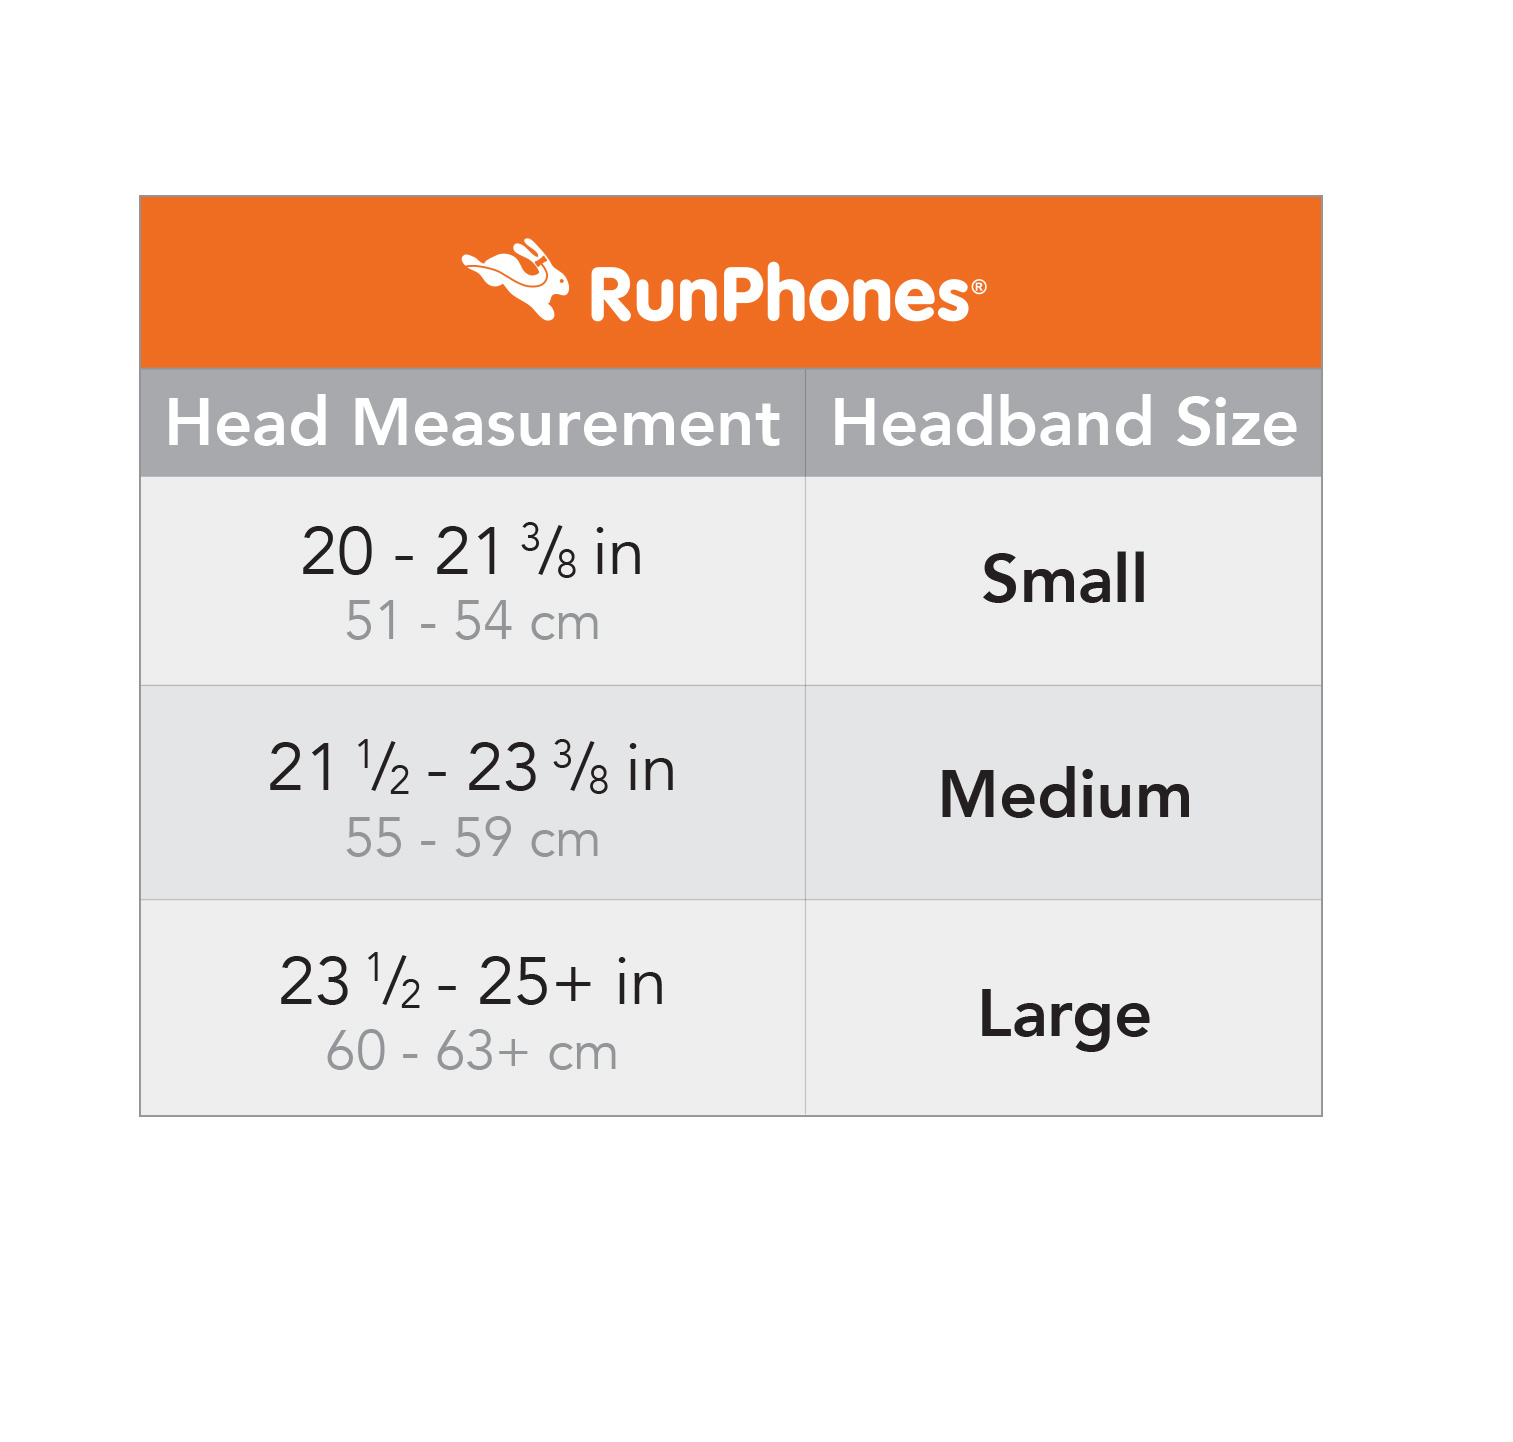
There is no single universal headphone size chart used by all U.S. manufacturers. Brands measure headbands, earcups, and ear openings in different ways. Use the manufacturer’s measurements as a comparison guide and confirm the retailer’s return terms.
Are bigger headphones more comfortable?
Not always. A larger earcup may provide more room, but comfort also depends on cushion shape, depth, weight, clamp, headband padding, and heat buildup. The right size is the one that fits your ears and stays stable without painful pressure.
How should headphones fit over the ears?
The cushions should surround your ears without pressing on them. The headband should rest near the center of your head, and both earcups should sit evenly. Your ears should not touch the inner speaker grille during normal use.
How do I measure earbuds?
Earbuds are measured by fit, not head size. Try different ear tip sizes and check whether the earbud stays in place without pain. The tip should seal the ear canal comfortably, but it should not be forced deeply into the ear.
Can I make headphones fit better?
You may improve fit by adjusting the headband evenly, changing ear pads, or choosing thinner or thicker cushions designed for that model. Do not bend the headband aggressively or modify the wiring. Changes can damage the headset or alter the sound.
Conclusion: Measure the Head, Ears, and Earcup Opening
To measure headphone size, start with your head circumference and then measure your ear height and width. Compare those numbers with the headset’s adjustable range, inner earcup opening, and cushion depth. For most over-ear buyers, the earcup opening and ear pad design matter more than the outer shell size.
Before buying, check the full specifications, consider glasses or hearing aids, and use a return policy when the inner opening is not listed. A good fit should feel secure and comfortable without pain, pressure, or ear contact.