How To Make Noise Cancelling Headphones: DIY Guide

You can make basic noise cancelling headphones in the United States by combining over-ear headphones, microphones, an active noise cancellation (ANC) circuit, an amplifier, and a safe power source. The most reliable DIY method uses a ready-made ANC module rather than designing the signal processor from scratch.
A homemade set can reduce steady low sounds such as an air conditioner, bus engine, or airplane hum. It usually will not match the tuning, comfort, battery life, or safety testing of commercial headphones. It also should not be treated as certified hearing protection.
This guide explains the parts, wiring, assembly, testing, and limits of a practical DIY build for use at home, during travel in the U.S., or in other everyday settings.
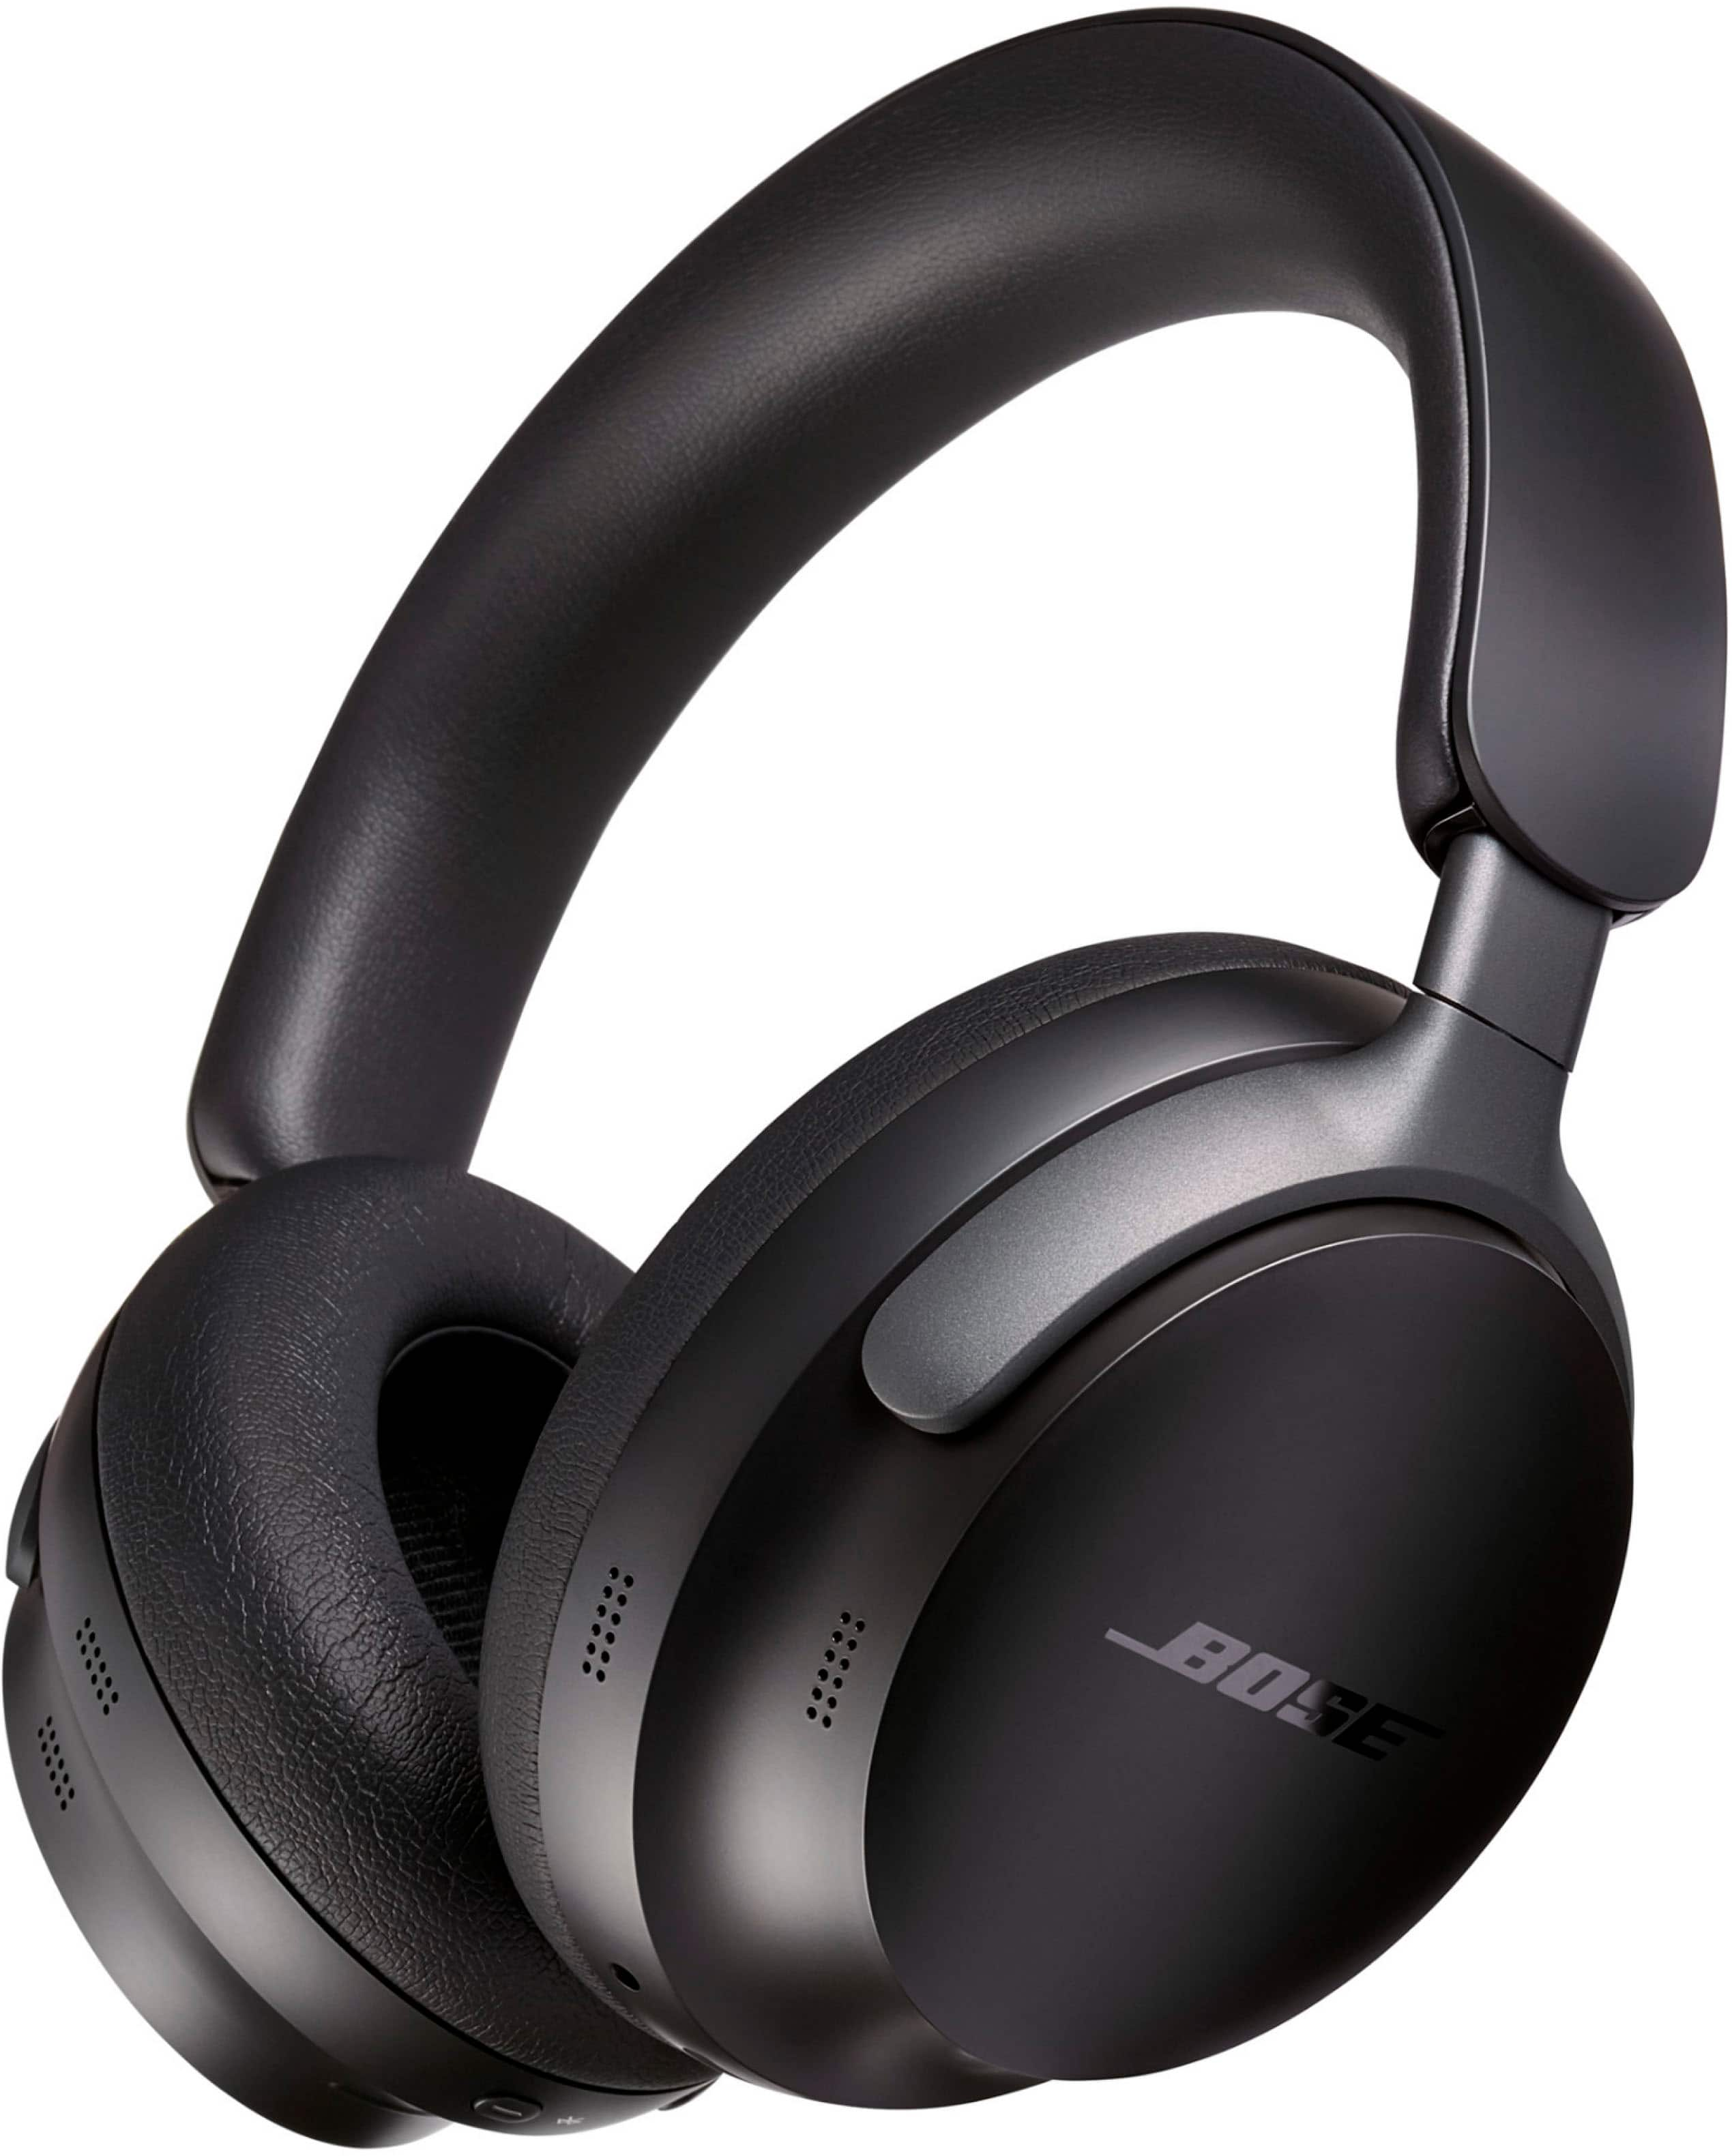
What Noise Cancelling Headphones Actually Do
Noise cancelling headphones use two methods:
- Passive isolation: Ear cups and padding block sound by covering the ears.
- Active noise cancellation: Microphones detect outside sound, and electronics create an opposing sound wave.
The opposing wave is called anti-noise. When the outside sound and anti-noise meet, they reduce one another at the ear.
ANC works best against sounds that are:
- Low in pitch
- Continuous
- Fairly close to the microphones
- Similar over time
Examples include an airplane engine, HVAC fan, road noise, or a refrigerator compressor.
ANC is less effective against:
- Sudden claps
- Voices from changing directions
- Dogs barking
- Sirens
- High-pitched sounds
- Poorly sealed ear cups
The ear seal matters because ANC cannot replace a gap between the cushion and your head. Glasses, hair, and loose pads can let sound leak in.
Feedforward and feedback ANC
Most DIY ANC systems use one of two microphone layouts.
| ANC type | Microphone position | Main benefit | Main limitation |
|---|---|---|---|
| Feedforward | Outside the ear cup | Detects noise before it reaches the ear | Sensitive to wind and microphone placement |
| Feedback | Inside the ear cup | Measures sound near the ear | Can become unstable if poorly tuned |
| Hybrid | Outside and inside | Better control across more conditions | More complex and harder to build |
A feedforward design is usually the better starting point for a DIY project. A hybrid system may perform better, but it needs careful filter design and stability testing.

Choose a Build Method
There are three realistic ways to make noise cancelling headphones.
Method 1: Add an ANC module to existing headphones
This is the easiest path. You start with closed-back over-ear headphones and add:
- An ANC circuit board
- Two external microphones
- A battery or USB power source
- Wiring and a switch
This approach is suitable for a first build because the board handles the difficult filtering work.
Method 2: Build an analog ANC circuit
An analog design uses microphones, preamplifiers, filters, phase control, and an audio amplifier. It can work, but small changes in gain or phase may cause loud feedback.
This method is best for people who already understand:
- Op-amps
- Audio filters
- Gain staging
- Oscillation
- Shielded wiring
- Circuit grounding
Method 3: Build digital ANC with a microcontroller
A digital system uses an audio codec, microphones, a digital signal processor, and custom software. An adaptive filter can change its response as the noise changes.
This method gives you the most control, but it is not the fastest way to get working headphones. It also introduces latency. Even a small delay can reduce cancellation or create an echo-like sound.
For most home builders, a tested ANC module is the best balance of cost, complexity, and safety.
Parts and Tools You Need
A basic DIY ANC headphone project needs the following parts.
Core parts
-
Closed-back over-ear headphones
- Choose thick ear pads.
- Use a model with enough room inside the ear cup.
- Avoid very small on-ear designs for a first build.
-
ANC module
- Select a board made for stereo headphones.
- Confirm its supply voltage.
- Check whether it includes a headphone amplifier.
- Check whether it supports a wired audio input.
-
Two matched microphones
- Use electret or MEMS microphones supported by the ANC board.
- Match the left microphone to the left channel.
- Match the right microphone to the right channel.
-
Audio source
- A 3.5 mm cable is the simplest choice.
- A Bluetooth receiver can be added, but it may introduce pairing and delay issues.
-
Power source
- Use the voltage listed by the ANC board maker.
- A protected USB power bank is safer than a loose lithium-ion cell.
- Do not use an unknown battery pack.
-
On/off switch
- A small latching switch can disconnect power.
- Keep the switch easy to reach.
-
Wire and connectors
- Use thin, flexible stranded wire.
- Use shielded cable for low-level audio lines where possible.
- Add strain relief at cable entry points.
Useful tools
- Small screwdrivers
- Soldering iron with a fine tip
- Solder and flux
- Wire stripper
- Heat-shrink tubing
- Multimeter
- Small drill or rotary tool
- Hot glue or mechanical cable clips
- Safety glasses
A multimeter is not optional for a careful build. It helps you confirm polarity, continuity, and the absence of a short circuit before you connect a battery.
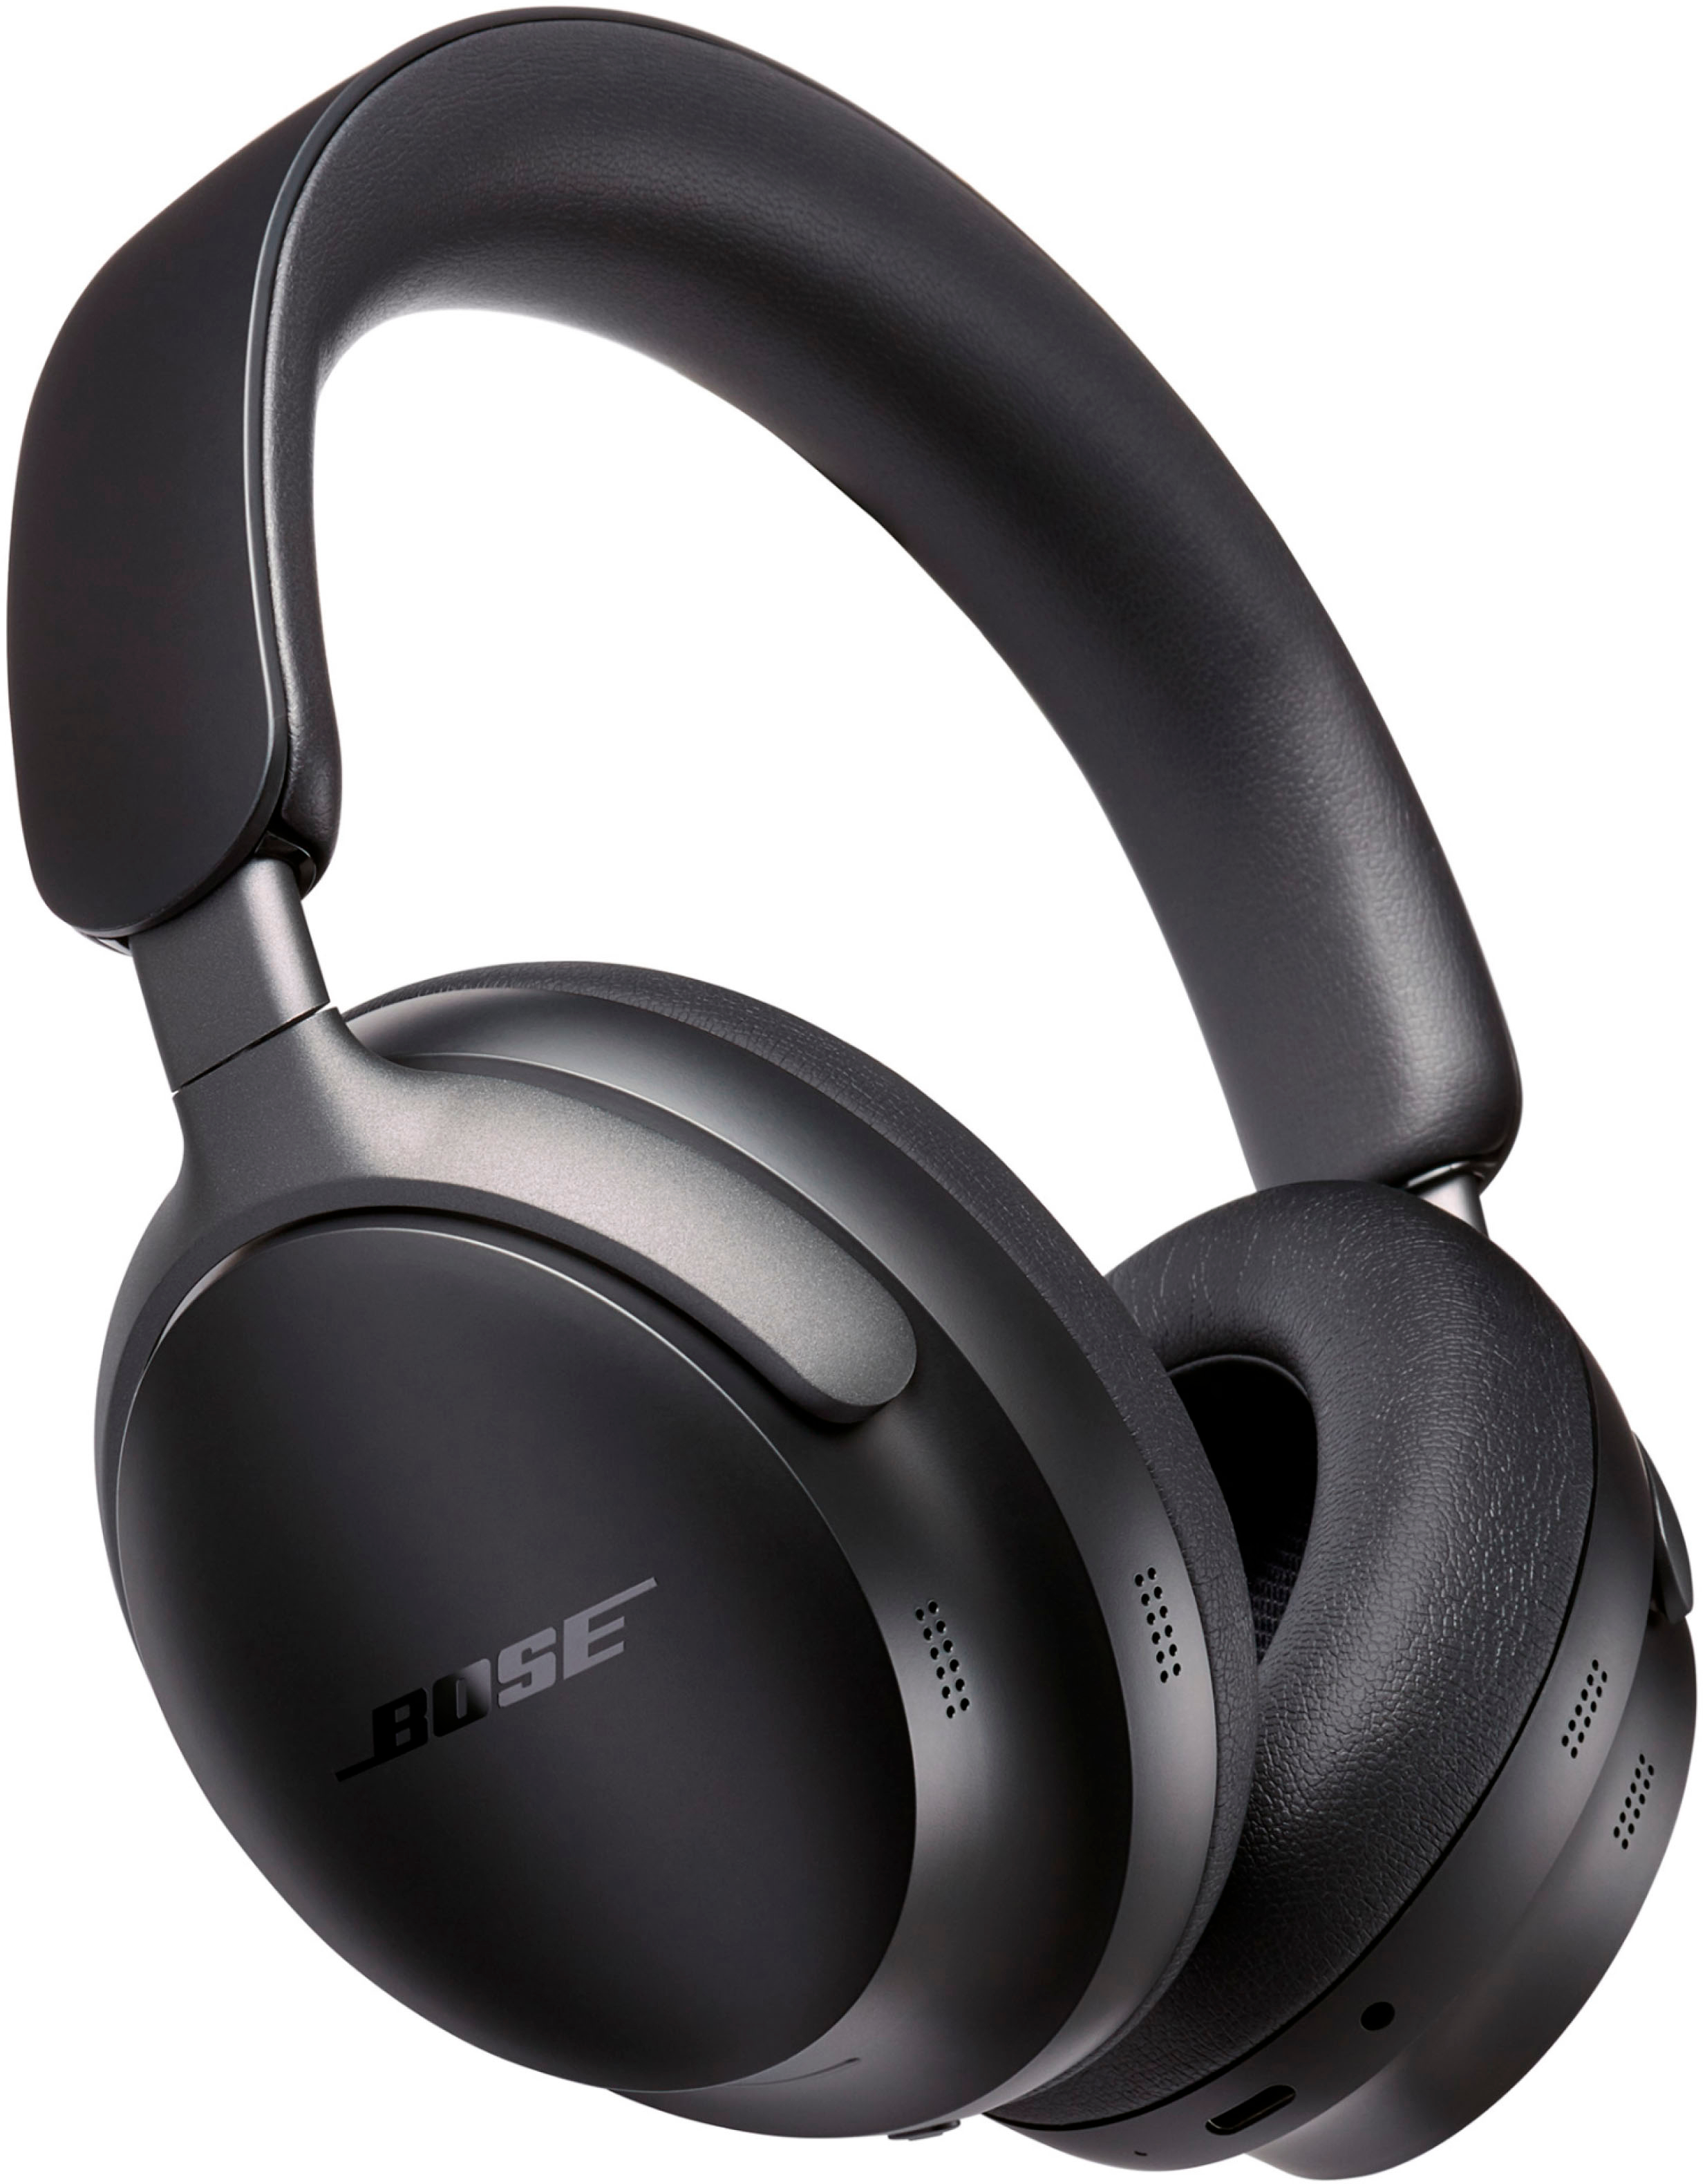
Check the Circuit Before You Build
Do not install the electronics in the ear cups first. Test the circuit on a desk.
1. Read the ANC board documentation
Find these details before connecting anything:
- Input voltage
- Positive and ground connections
- Microphone pinout
- Left and right audio input
- Left and right speaker output
- Maximum speaker impedance
- Battery charging requirements
- Whether the board has built-in amplification
Boards with similar appearances can use different pinouts. Never assume that a red wire is positive or that a certain connector uses a standard layout.
2. Draw a simple wiring plan
A common signal path looks like this:
Audio source
     │
     ▼
ANC board audio input ──► ANC processing ──► Headphone amplifier
     ▲                                      │
     │                                      ▼
Outside microphones ───────────────────► Left and right speakers
For a feedback design, the microphones may sit inside the ear cups instead. Follow the board instructions because the wrong microphone position can cause unstable operation.
3. Confirm power polarity
With the board disconnected, use a multimeter to identify:
- Positive voltage
- Ground
- Switch connection
- Charging input, if present
Check for a short between positive and ground. If the meter shows a near-zero resistance, stop and inspect the wiring.
4. Test with a current-limited supply
If you have a bench supply, set the correct voltage and use a low current limit during the first power test. If you do not have one, use a protected USB power bank and add an inline fuse where appropriate.
Do not connect a bare lithium cell directly unless the design includes proper protection, charging control, and battery management.
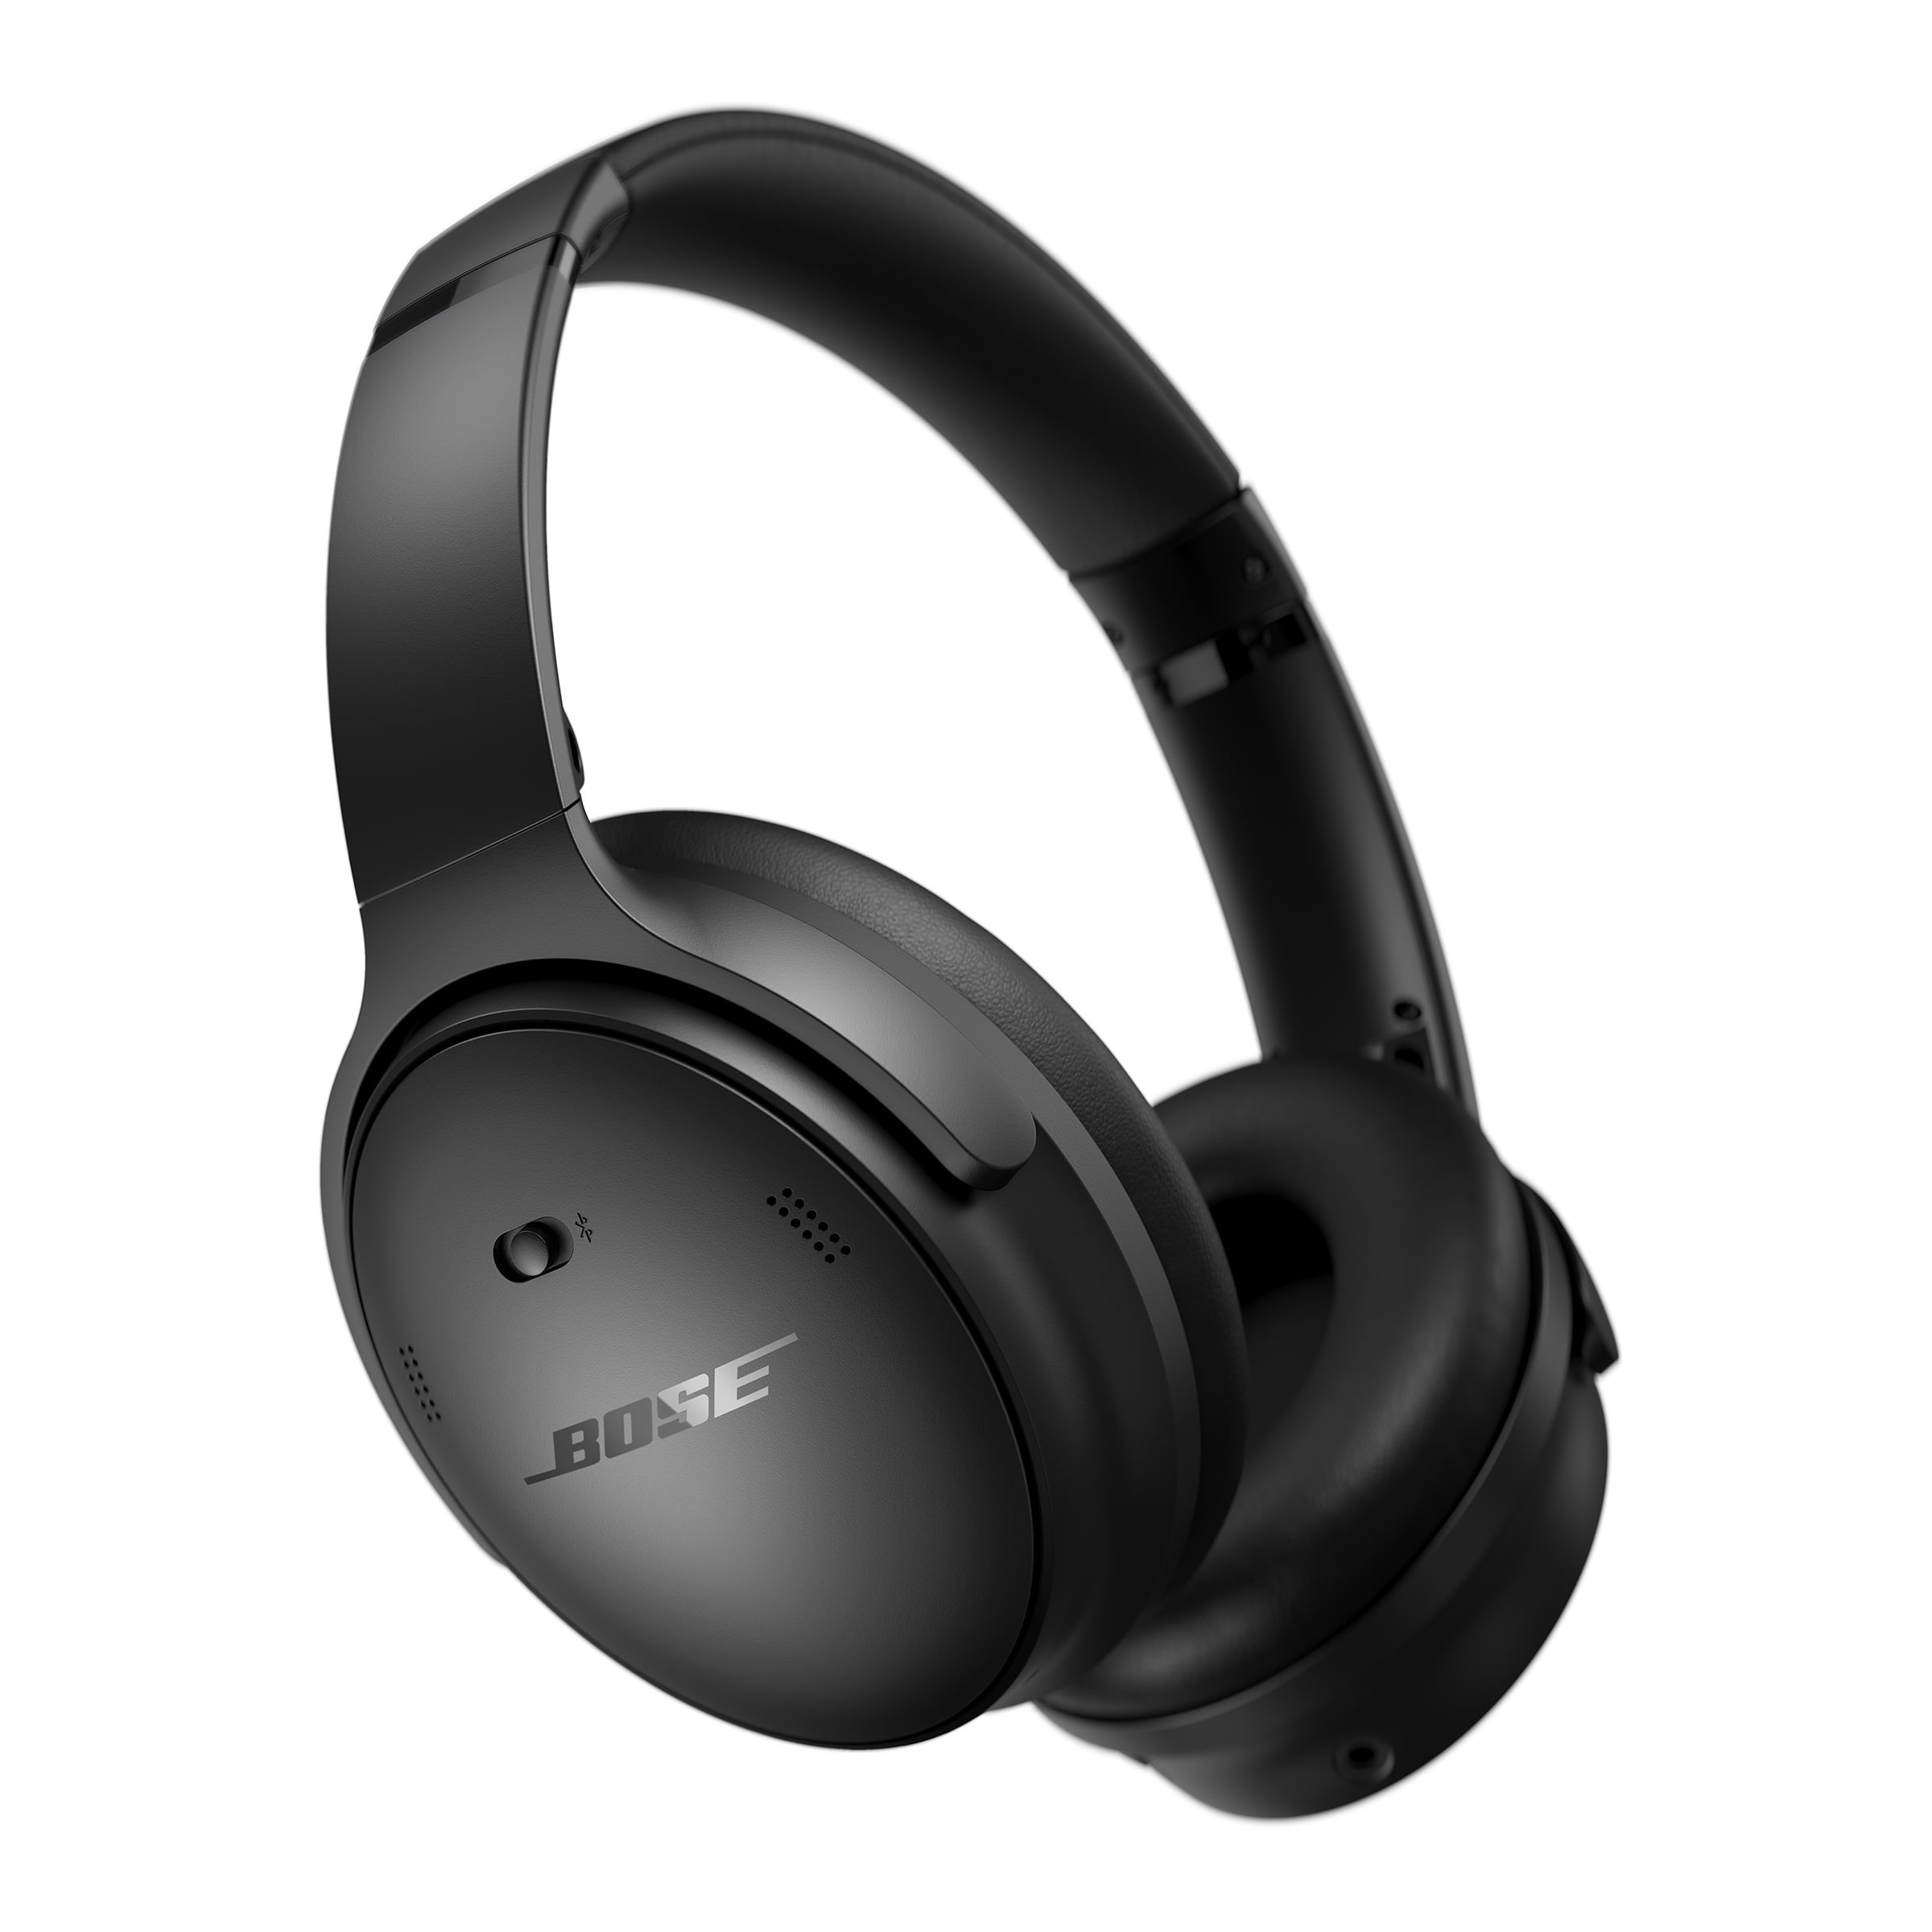
How to Assemble the Headphones
Once the circuit works outside the headphones, install the parts in stages.
Step 1: Open the ear cups carefully
Remove the ear pads and locate the screws or clips. Take photos before removing wires. This gives you a record of the original speaker polarity and cable routing.
Do not place the electronics where they can press against your ear. A hard board under the pad can cause pain and may damage the board over time.
Step 2: Mount the microphones
For a feedforward design, place one microphone on the outside of each ear cup.
Good microphone placement has these traits:
- The opening faces the main noise field.
- The left and right microphones sit in similar positions.
- The microphone is protected from direct wind.
- The opening is not blocked by glue or foam.
- The microphone does not touch the ear cup shell.
Use a small wind screen if the microphone is exposed. Wind hitting the microphone can create strong low-frequency noise and reduce ANC performance.
Step 3: Route the wires
Keep microphone wires separate from power wires where practical. Secure loose wires so they do not touch the speaker diaphragm.
Use heat-shrink tubing over solder joints. Avoid relying on a blob of hot glue as the only support for a wire that bends often.
Step 4: Connect the speakers
Connect the left output to the left speaker and the right output to the right speaker. Preserve the original polarity.
If one speaker is wired backward, the headphones may sound thin or hollow. This can happen because the two channels partially cancel when sound reaches both ears.
Step 5: Install the ANC board
Choose a position that:
- Does not press against your head
- Does not block the ear cushion
- Allows airflow if the board needs it
- Keeps the switch accessible
- Protects the board from metal parts
Use a plastic spacer or nonconductive mounting pad. Do not let the circuit board touch the metal headphone frame unless the design specifically permits it.
Step 6: Add the power source
A small USB power bank can sit in a headband pouch, jacket pocket, or cable-mounted enclosure. This is often safer than putting a rechargeable cell inside a tightly packed ear cup.
If you use an internal battery, use a protected pack with a suitable charger. Do not puncture, crush, heat, or solder directly to an unprotected lithium-ion cell.
Step 7: Close the ear cups
Before replacing the pads, check that:
- No wire touches the speaker cone
- The microphone openings are clear
- The pads still form a full seal
- The board cannot move
- The cable has strain relief
- The switch does not turn on by accident
Tune and Test the Noise Cancelling System
Test the headphones in a quiet place first. Do not begin with loud music or a loud machine.
Start with low volume
Use a low-volume audio source and switch ANC on. Listen for:
- Hissing
- A deep rumble
- Squealing
- Popping
- Sudden loud output
- Unequal sound between the ears
If you hear feedback or a sharp tone, turn the system off at once. Do not continue testing while wearing the headphones.
Compare ANC on and off
Use a steady sound, such as a fan or HVAC unit. Keep the sound source in the same position and compare:
- Passive isolation only
- ANC switched on
- ANC switched off again
A successful first test should produce a clear reduction in low-frequency hum without adding a new tone.
This is a listening check, not a certified measurement. A phone microphone and an ordinary sound meter may not accurately show what reaches the ear.
Check the ear seal
Press the ear cups gently against your head. If the low hum drops when you press the cups inward, the passive seal is weak.
Try:
- Replacing worn pads
- Using thicker memory-foam pads
- Adjusting the headband
- Moving hair and glasses away from the seal
- Checking for gaps around the jaw
Do not block the microphone with your hand during testing. That can change the feedback path and produce a misleading result.
Test different noise types
Use several safe sound sources:
| Test sound | Expected result |
|---|---|
| Fan or air conditioner | Strong improvement is possible |
| Low music or engine rumble | Some improvement is possible |
| Speech | Partial reduction |
| Hand claps | Little reduction |
| High-pitched beeps | Often limited reduction |
| Wind | May become worse without microphone protection |
Do not use gunshots, fireworks, sirens at close range, or other harmful sounds for testing.

Troubleshoot Common Problems
The headphones make a loud whistle
Likely causes:
- Microphone is too close to the speaker
- ANC gain is too high
- Feedback microphone is badly placed
- Wires are picking up interference
- The ear cup has an unintended acoustic path
What to do:
- Turn the system off.
- Lower the ANC gain if the board allows it.
- Move the microphone farther from the speaker.
- Check for loose or crossed wires.
- Add mechanical separation between the microphone and speaker.
- Test one ear cup at a time.
Never solve feedback by simply turning up the volume.
ANC reduces sound in one ear only
Check:
- Left and right microphone connections
- Speaker polarity
- Board channel wiring
- Microphone sensitivity
- Broken solder joints
- A blocked microphone opening
Swap the left and right microphone connectors if the board permits it. If the problem moves to the other ear, the microphone or its wiring may be at fault.
The headphones sound hollow or weak
This often points to incorrect speaker polarity or excessive phase shift. Verify the positive and negative speaker leads.
It can also result from an open or poorly sealed ear cup. Compare the sound with ANC disabled. If the hollow quality disappears when ANC is off, the ANC circuit may need different gain or phase settings.
The ANC works but music is distorted
Possible causes include:
- The board is overloaded
- The amplifier cannot drive the headphone impedance
- The audio input level is too high
- The power supply voltage is incorrect
- The Bluetooth module is clipping the signal
Reduce the source volume first. Then confirm the board’s supported headphone impedance and input level.
The system drains the battery quickly
ANC boards and amplifiers consume power even when music is paused. Check for:
- A board that never enters standby
- A damaged battery
- A short circuit
- An inefficient amplifier
- A Bluetooth receiver left connected
Measure current draw with a multimeter only if you know how to place the meter in series. A shorted current measurement can damage the meter or circuit.
The headphones do not reduce noise
Start with the simplest checks:
- Confirm that the ANC board is powered.
- Check that both microphones are connected.
- Check the left and right channels.
- Test with a steady low-frequency sound.
- Improve the ear seal.
- Confirm that the board is designed for the microphone type you used.
- Check whether the module requires calibration or a specific enclosure.
If the board creates noise but does not cancel it, the microphone polarity, phase, gain, or placement may be wrong.
How Much Noise Reduction Can You Expect?
There is no single noise reduction number for a homemade build. Performance depends on the headphone seal, microphone quality, circuit design, speaker response, battery voltage, and sound source.
A useful way to think about the result is:
Total perceived reduction
≈ passive ear-cup isolation
+ active reduction at selected frequencies
− leaks, delay, wind, and tuning errors
This is not a laboratory formula. It is a practical model for understanding why a strong ANC board can still perform poorly in a badly sealed headphone.
Commercial headphones often use carefully matched microphones, custom acoustic chambers, digital filters, and extensive production testing. A DIY module may reduce a steady hum, but it may also have:
- More hiss
- Less consistent cancellation
- Poorer speech reduction
- Lower battery life
- More sensitivity to fit
- No formal hearing-protection rating
Do not compare a homemade result with a certified attenuation rating unless the complete device has been tested by an appropriate laboratory.

Safety Limits You Should Follow
DIY headphones can create a hearing risk if the circuit fails or the volume is set too high.
The National Institute for Occupational Safety and Health, or NIOSH, uses 85 dBA over an eight-hour workday as a recommended exposure limit and applies a 3 dB exchange rate. In simple terms, louder sound allows less safe exposure time.
Follow these rules:
- Start every test at low volume.
- Stop if you hear ringing, pain, or sudden imbalance.
- Do not use DIY ANC headphones as hearing protection.
- Do not test near hazardous machinery without certified protection.
- Keep exposed wires insulated.
- Use eye protection while soldering.
- Ventilate the work area.
- Unplug power before changing wiring.
- Do not charge a damaged or swollen battery.
- Keep lithium batteries away from heat and metal tools.
- Have a qualified electronics technician inspect a mains-powered charger or custom battery system.
ANC can make a space feel quieter. It cannot make loud sound harmless.

DIY ANC Headphones: Cost and Difficulty
The total cost depends on what you already own. A simple build may use existing headphones and a low-cost module. A more complete project needs new headphones, microphones, a power source, connectors, and tools.
| Build choice | Difficulty | Best for | Main trade-off |
|---|---|---|---|
| ANC module in wired headphones | Low to medium | First project | Limited tuning |
| Analog ANC circuit | Medium to high | Electronics learners | Feedback is harder to control |
| Digital ANC with DSP | High | Advanced builders | More flexible but needs software and testing |
| Commercial ANC headphones | Low effort | Reliable daily use | Less hands-on learning |
If your main goal is quiet travel or work, buying a tested product is usually more practical. If your goal is learning audio electronics, a module-based build provides a useful project without requiring a full ANC algorithm.
Common DIY Mistakes to Avoid
Using open-back headphones
Open-back headphones allow outside sound to pass through by design. They are a poor base for an ANC project because the enclosure cannot create a stable acoustic environment.
Choosing a board by appearance
Two ANC boards may look alike but use different voltage ranges, microphone types, or pinouts. Use the board documentation, not the photograph, as the wiring reference.
Placing the microphone inside a sealed cavity
A blocked microphone cannot detect sound correctly. A microphone opening needs a clear acoustic path.
Ignoring wind
Outdoor wind can overwhelm a feedforward microphone. Add a small wind screen and keep the microphone recessed when possible.
Using a loose lithium cell
Loose cells can short against tools, wires, or the headphone frame. Use a protected pack and proper charger, or use a certified USB power bank.
Expecting ANC to remove all voices
Human speech changes quickly and contains many frequencies. A DIY ANC circuit may lower some speech energy, but it will not reliably erase conversation.
Testing only with music
Music can hide feedback and distortion. Test first with a steady, safe noise source and no music playing.
Frequently Asked Questions
Can I make noise cancelling headphones without soldering?
Yes, but your options are limited. You can use a prebuilt ANC adapter or an external ANC module with plug-in connectors. A fully integrated headphone build usually needs soldering or a custom connector system.
Can I add noise cancellation to Bluetooth headphones?
Possibly. You need access to the speaker wires or an audio path before the amplifier. Some Bluetooth headphones have sealed electronics, digital volume control, or proprietary wiring that makes modification difficult.
A separate Bluetooth receiver connected to an ANC module is often easier than modifying an existing wireless headset.
Does active noise cancellation protect hearing?
Not by itself. ANC reduces selected sounds, but it does not provide a certified noise reduction rating. Use hearing protection designed and labeled for hazardous noise when required.
Why does my DIY ANC system create a low rumble?
The circuit may have the wrong phase, too much gain, microphone feedback, power-supply noise, or a poor ear-cup seal. Turn it off, then inspect microphone placement and gain before testing again.
Is analog or digital ANC better for a DIY project?
A ready-made analog module is simpler for a first build. Digital ANC can offer more control, but it requires a processor, audio conversion, software, and careful management of delay. The best choice depends on your electronics and programming experience.
Recommended Build Sequence
For the safest and most useful result:
- Start with closed-back over-ear headphones.
- Choose an ANC module with clear wiring documents.
- Test the board on a workbench.
- Use a protected USB power source.
- Mount matched microphones in symmetrical positions.
- Verify speaker polarity.
- Test at low volume.
- Tune for steady low-frequency noise.
- Improve the ear seal before changing the circuit.
- Stop using the system if it whistles, pops, overheats, or produces sudden loud sound.
The practical next step is to draw the wiring plan for your exact ANC board before buying parts. The board’s voltage, microphone pinout, amplifier rating, and battery requirements determine whether the rest of the build will work safely.
Sources and Further Reading
- National Institute for Occupational Safety and Health: Noise and Hearing Loss Prevention
- Occupational Safety and Health Administration: Occupational Noise Exposure
- Analog Devices: Active Noise Cancellation Basics
- Texas Instruments: Audio and Noise-Cancellation Resources

Conclusion
Making noise cancelling headphones is possible, but the best DIY route is to upgrade closed-back headphones with a documented ANC module, matched microphones, and a protected power source. Focus first on a strong ear seal and correct wiring. Then test the system with safe, steady noise at low volume.
A homemade build can reduce engine and fan noise, but it will not automatically match commercial ANC headphones or replace certified hearing protection. Safety, stable operation, and careful testing matter more than maximum volume or complex features.