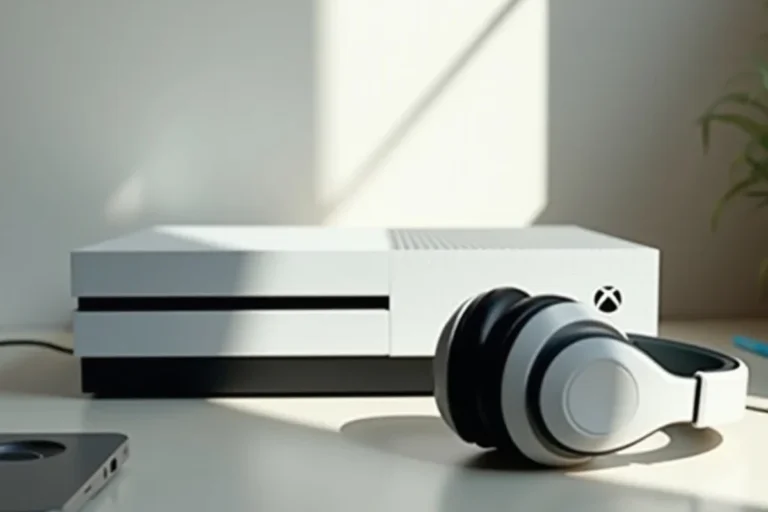
How to Connect Turtle Beach Headphones to Xbox One Easily
Wired Turtle Beach headsets usually connect through the Xbox One controller jack, while wireless models need pairing with the correct transmitter or base station. After connecting, check Xbox audio settings, chat mix, and mic mute status if sound or voice chat does not work right away.
If you are trying to figure out how to connect Turtle Beach headphones to Xbox One, the good news is that the setup is usually straightforward once you know whether your headset is wired or wireless. The exact steps depend on the model, but most users can get sound and chat working in just a few minutes.
This guide from the Top Headphone Reviews Editorial Team walks you through the basic setup, the Xbox One audio settings that matter, and the common mistakes that can cause weak volume, no mic input, or unstable pairing. If you also use other devices, our guide on Turtle Beach headphones on PC may help you understand compatibility across platforms.
- Wired setup: Plug into the controller jack and test sound first.
- Wireless setup: Pair the headset with the correct transmitter or base station.
- Audio settings: Check output, chat balance, and mic routing in Xbox settings.
- Troubleshooting: Recheck mute, battery, cable fit, and firmware updates.
How to Connect Turtle Beach Headphones to Xbox One: What You Need Before You Start
Contents
- 1 How to Connect Turtle Beach Headphones to Xbox One: What You Need Before You Start
- 2 Step-by-Step Setup for Wired Turtle Beach Headsets on Xbox One
- 3 How to Connect Wireless Turtle Beach Headphones to Xbox One
- 4 Xbox One Audio Settings That Affect Turtle Beach Headphone Performance
- 5 Common Connection Problems and How to Fix Them
- 6 Expert Advice: Mistakes to Avoid When Setting Up Turtle Beach Headphones
- 7 Price, Value, and Model Differences Worth Knowing in 2026
- 8 Final Recap: The Fastest Way to Get Turtle Beach Headphones Working on Xbox One
- 9 Frequently Asked Questions
- 10 Author
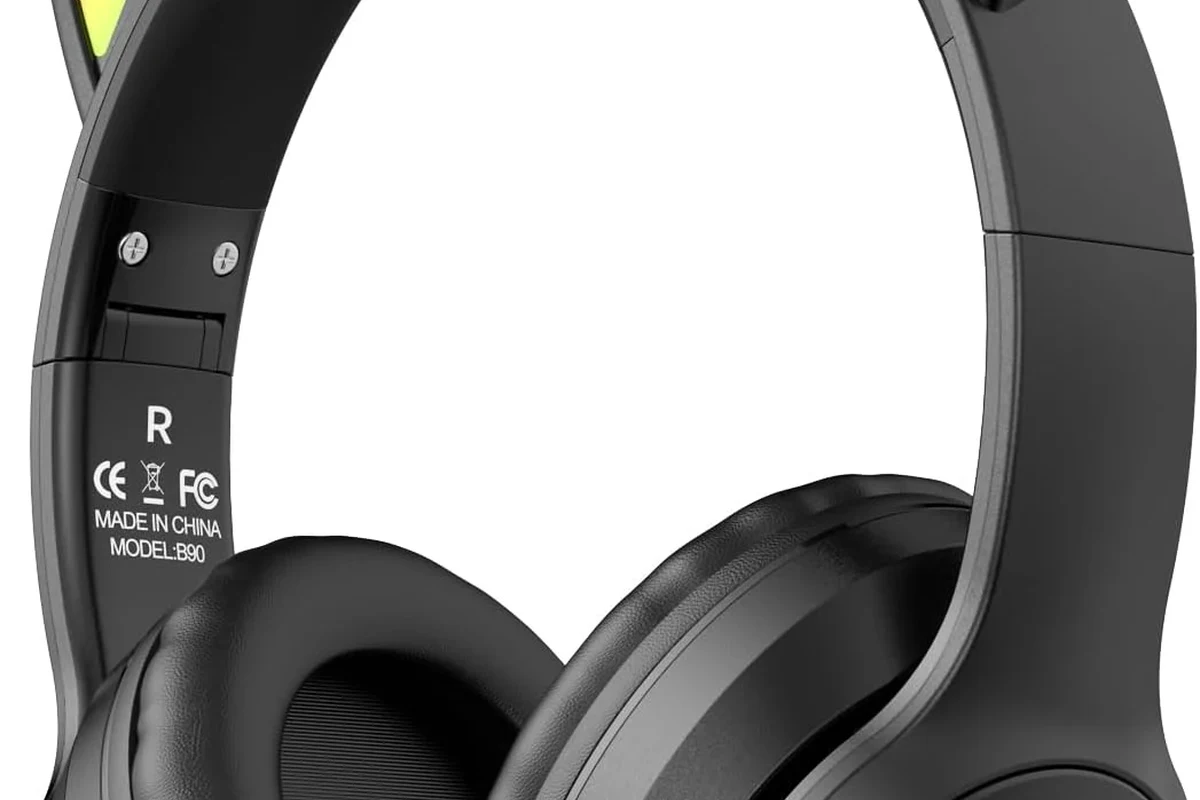
Before you start, it helps to confirm which Turtle Beach model you own. Some headsets connect through the Xbox One controller’s 3.5mm headset jack, while others use a USB wireless transmitter, a base station, or a mix of both.
You should also check whether your controller has a built-in headset port. Most newer Xbox One controllers do, but older ones may require a headset adapter. If your headset is wireless, make sure it is designed for Xbox compatibility rather than general Bluetooth use, since not every wireless audio method works the same way on Xbox consoles.
Xbox One headset setup can vary by Turtle Beach model, controller version, and firmware. If your headset came with a quick-start guide, keep it nearby while you set things up.
- Your Turtle Beach model and connection type
- Whether your controller has a 3.5mm headset jack
- Any included cable, adapter, or USB transmitter
- Headset and controller battery levels
Step-by-Step Setup for Wired Turtle Beach Headsets on Xbox One
Wired Turtle Beach headsets are usually the easiest to connect because they rely on a physical cable instead of pairing. In most cases, the headset sends audio through the controller, and the controller passes it to the console.
Connecting via the Xbox One controller headset jack
Start by plugging the headset cable into the 3.5mm port on the bottom of the Xbox One controller. If your controller does not have that port, you may need a compatible headset adapter or a controller that supports headset audio directly.
Once the cable is connected, turn on the controller and the Xbox One console. The headset should begin passing game audio automatically if the connection is seated correctly. If nothing happens, remove the plug and reconnect it firmly, since a loose connection is one of the most common setup issues.
Using the Turtle Beach audio cable and inline controls correctly
Many Turtle Beach wired models include inline controls for volume, mic mute, or chat adjustment. Make sure the cable is routed fully and that any mute switch is set to live audio before testing party chat.
If your headset includes separate game and chat controls, start with both at a middle setting. That gives you a safer baseline and makes it easier to hear whether one channel is too loud or too quiet. A small adjustment can make a big difference in clarity, especially in games with lots of dialogue and background effects.
Set headset volume low at first, then raise it gradually. This helps you avoid sudden loud audio spikes when the Xbox dashboard or game loads.
Testing game chat and adjusting volume for the first time
After connecting, join a party chat or open a game with voice support to confirm that both playback and microphone input are working. If you hear game sound but no chat audio, the problem is often in the console settings or the controller connection rather than the headset itself.
Use the Xbox guide to check chat balance and mic levels. If your headset sounds too quiet, raise the volume slowly instead of maxing it out immediately. For longer sessions, keeping levels moderate is better for comfort and hearing safety.
Listening at high volumes for long periods can cause hearing damage. Keep volume at 60% or below for extended sessions.
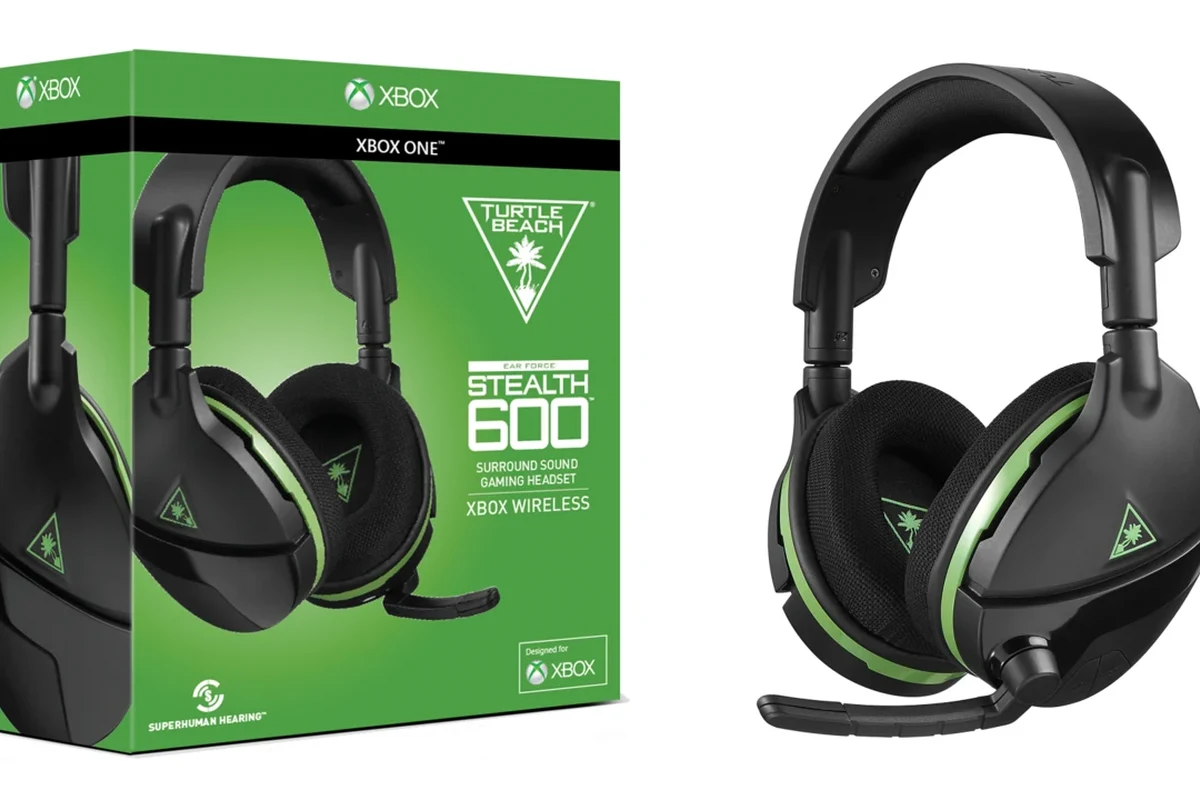
How to Connect Wireless Turtle Beach Headphones to Xbox One
Wireless Turtle Beach models can be more convenient, but they usually require a specific pairing method. Some use an Xbox Wireless Adapter, while others connect through a base station or console-compatible wireless link.
Pairing the headset with the Xbox Wireless Adapter or base station
If your model uses a USB wireless adapter, plug the adapter into the Xbox One and put the headset into pairing mode according to the model instructions. If your headset uses a base station, connect the base station to power and the console, then sync the headset to the dock or transmitter.
The key is to wait for the headset and transmitter to recognize each other before changing settings. If pairing fails, restart both devices and try again from the beginning. Wireless setup issues often come from skipping a step or pairing in the wrong order.
Syncing audio and chat settings for stable gameplay
Once paired, open the Xbox audio settings and confirm that output is routed to the headset. Then test both game sound and chat audio in a party or multiplayer lobby. Stable wireless performance depends on a clean link between the headset, transmitter, and console.
If the audio cuts out, move other wireless devices farther away and make sure the transmitter is not blocked by the console or a metal surface. Short-range interference can cause dropouts that look like headset failure but are really signal problems.
Example setup for popular Turtle Beach wireless models
Different Turtle Beach wireless headsets may use slightly different steps, but the general pattern is the same: charge the headset, connect the transmitter or base station, enter pairing mode, and confirm Xbox audio output. If your model supports app-based updates, install the firmware before your first long gaming session.
When in doubt, use the model’s official instructions rather than guessing. Wireless gaming headsets are more sensitive to setup order than wired models, so a careful first setup usually saves time later.
Many wireless headset problems are not caused by the headset drivers themselves, but by pairing order, battery level, or console audio routing.
Xbox One Audio Settings That Affect Turtle Beach Headphone Performance
Even when the headset is connected correctly, Xbox One settings can change how it sounds. A few menu choices can affect clarity, chat balance, and whether the microphone is detected properly.
Choosing output format and party chat settings
Go into the Xbox sound settings and confirm that the console is sending audio to your headset. The best output format depends on your headset model and how you prefer surround or stereo sound, so avoid changing too many options at once.
Party chat settings matter too. If your friends can’t hear you, check whether chat is being routed to the headset and whether your microphone is muted in the Xbox interface. Small setting mismatches are a very common cause of “headset works, mic doesn’t” complaints.
Balancing game sound, chat mix, and mic monitoring
Many Turtle Beach headsets include a chat mix feature that lets you balance game audio against voice chat. If game sound is overpowering speech, shift the mix toward chat. If voices are too loud, move it back toward game audio.
Mic monitoring can also help, especially in louder gaming rooms. It lets you hear your own voice through the headset so you don’t speak too softly or too loudly. The right balance depends on your room noise, game genre, and personal comfort.
Common Connection Problems and How to Fix Them
Most Turtle Beach and Xbox One connection problems are simple, not serious. The trick is identifying whether the issue is with the cable, controller, transmitter, console setting, or headset firmware.
No sound, low volume, or distorted audio
If you get no sound at all, first check that the headset is fully plugged in or fully paired. For wired models, try a different controller port or controller if possible. For wireless models, confirm the transmitter is powered and the headset battery is charged.
Low volume or distortion can come from a bad cable, an incorrect mix setting, or output routing that is not fully set to the headset. If the sound crackles only at high volume, lower the headset level and test again before assuming the headset is broken.
Microphone not working in party chat
If people cannot hear you, make sure the mic is not muted on the headset or inline control. Then check the Xbox privacy and chat settings, since console-level restrictions can block voice communication even when the headset is physically connected.
It also helps to unplug and reconnect the headset or restart the controller. If the headset has a detachable mic, remove and reseat it carefully. A loose mic boom or partial connection can make the microphone seem dead when it is only misaligned.
Controller, cable, or firmware issues that cause setup failures
Older controllers may need an adapter, and worn headset jacks can fail to hold a stable connection. If the headset works on one controller but not another, the controller is likely part of the problem.
For wireless models, firmware updates can solve pairing bugs and audio glitches. If your headset has companion software or a desktop updater, check whether a newer version is available. If the headset still fails after updates and testing, the issue may be hardware-related rather than a simple setup mistake.
If you experience ongoing hearing discomfort, ringing, or pain after gaming, reduce volume immediately and consider speaking with an audiologist. Persistent audio issues that survive cable, controller, and firmware checks may also require help from a qualified repair specialist.
Expert Advice: Mistakes to Avoid When Setting Up Turtle Beach Headphones
Most setup mistakes are easy to avoid once you know what to watch for. The biggest problems usually come from using the wrong adapter, ignoring firmware updates, or assuming all wireless audio behaves the same way.
Why incorrect adapter use can damage audio quality
Using the wrong adapter can reduce volume, affect mic quality, or create unstable sound. Some adapters are designed for specific controller generations or headset features, so a “close enough” fit is not always good enough.
If your headset needs an adapter, use one that matches the controller and the Turtle Beach model. A mismatched accessory may still produce partial sound, but the chat mix and microphone performance can suffer. That makes troubleshooting harder because the headset appears to work only half correctly.
Warning signs that your headset needs a firmware update
Frequent dropouts, pairing failures, strange audio balance, or a microphone that works intermittently can all point to outdated firmware. If your headset has worked before but suddenly becomes unstable, an update is worth checking before replacing any hardware.
Firmware updates are especially important for wireless gaming headsets because they often improve console compatibility and stability. If the manufacturer offers an update tool, follow the instructions carefully and avoid disconnecting the headset during the process.
Do not force connectors, bend plugs sharply, or use damaged cables. Physical wear can reduce sound quality and may eventually create permanent connection problems.
Price, Value, and Model Differences Worth Knowing in 2026
In 2026, the main value difference between Turtle Beach headsets is still wired versus wireless convenience. Prices and features can vary widely by model, so it is better to compare connection method, comfort, and chat features than to focus on brand name alone.
Wired vs. wireless Turtle Beach headset setup costs
Wired models are usually simpler to set up and often cost less because they do not need a transmitter, charging system, or advanced wireless hardware. Wireless models can cost more, but they offer more freedom of movement and a cleaner desk or couch setup.
If you already own a compatible controller and just need reliable chat audio, wired can be the better value. If you want fewer cables and a more flexible living-room setup, wireless may be worth the extra cost, depending on your budget and tolerance for charging.
Which connection method is best for casual and competitive Xbox One players
Casual players often prefer wired headsets because they are fast to connect and usually easier to troubleshoot. Competitive players may prefer wireless models with stronger chat controls, better comfort, and less cable clutter, especially for longer sessions.
The best choice depends on how you play. If you want the least setup hassle, wired is usually the safest pick. If you care more about mobility and convenience, a well-matched wireless Turtle Beach headset can be a better long-term fit.
Should you buy wired or wireless for Xbox One?
Choose wired if you want simple setup and fewer connection problems. Choose wireless if you want more freedom and are comfortable managing charging, pairing, and firmware updates.
Final Recap: The Fastest Way to Get Turtle Beach Headphones Working on Xbox One
The fastest way to connect Turtle Beach headphones to Xbox One is to identify your headset type first, then follow the correct connection path without skipping the Xbox audio checks. Wired models usually plug into the controller and work right away, while wireless models need proper pairing and stable console audio settings.
If you run into problems, start with the basics: cable fit, controller compatibility, battery level, mute settings, and firmware updates. With those covered, most Turtle Beach headsets can deliver clear game audio and chat on Xbox One without much trouble.
Frequently Asked Questions
Wired headsets are usually easier to set up and troubleshoot. Wireless models offer more freedom, but they may need pairing, charging, and firmware updates.
Check the Xbox audio output settings, then adjust chat mix and headset volume slowly. If the sound still seems off, test the cable, controller, and firmware updates.
Make sure the mic is not muted and that Xbox chat settings allow voice input. If needed, reseat the mic, reconnect the headset, or try another controller.
Many Turtle Beach models are built for gaming first, with comfort and chat features that help in long sessions. Sound balance and fit can vary by model, so comfort matters as much as audio quality.
Look at connection type, comfort, microphone quality, battery life for wireless models, and whether the headset is Xbox compatible. If you care about sound tuning, also compare bass, clarity, and EQ options.
Keep volume moderate and take breaks when possible. For extended listening, staying at around 60% volume or lower is a safer habit for your hearing.